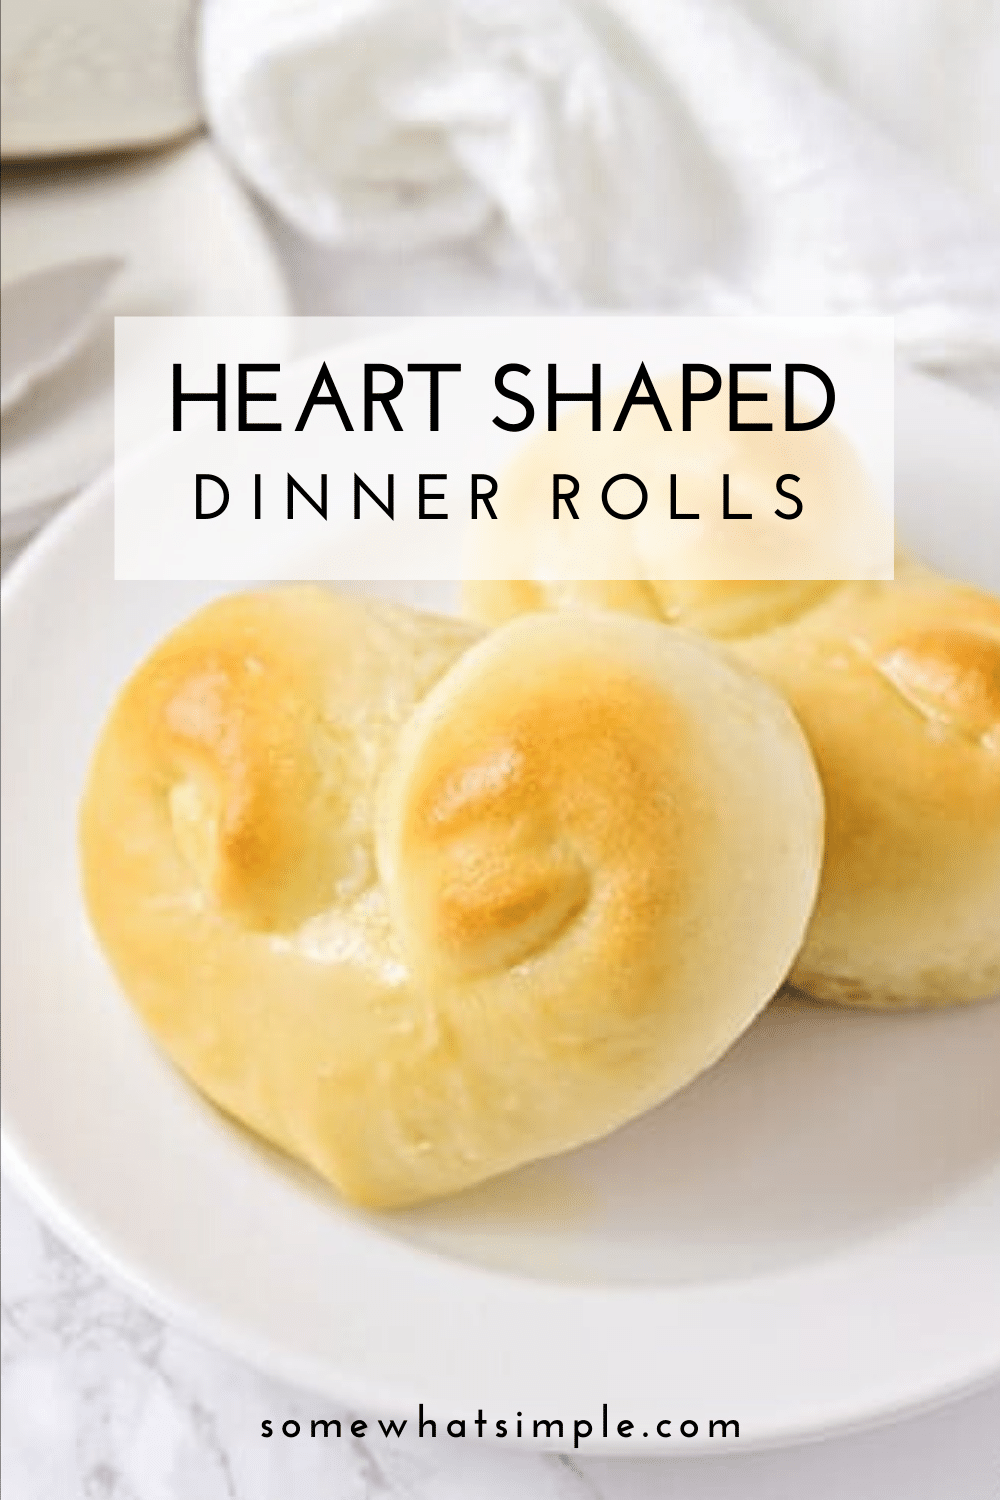
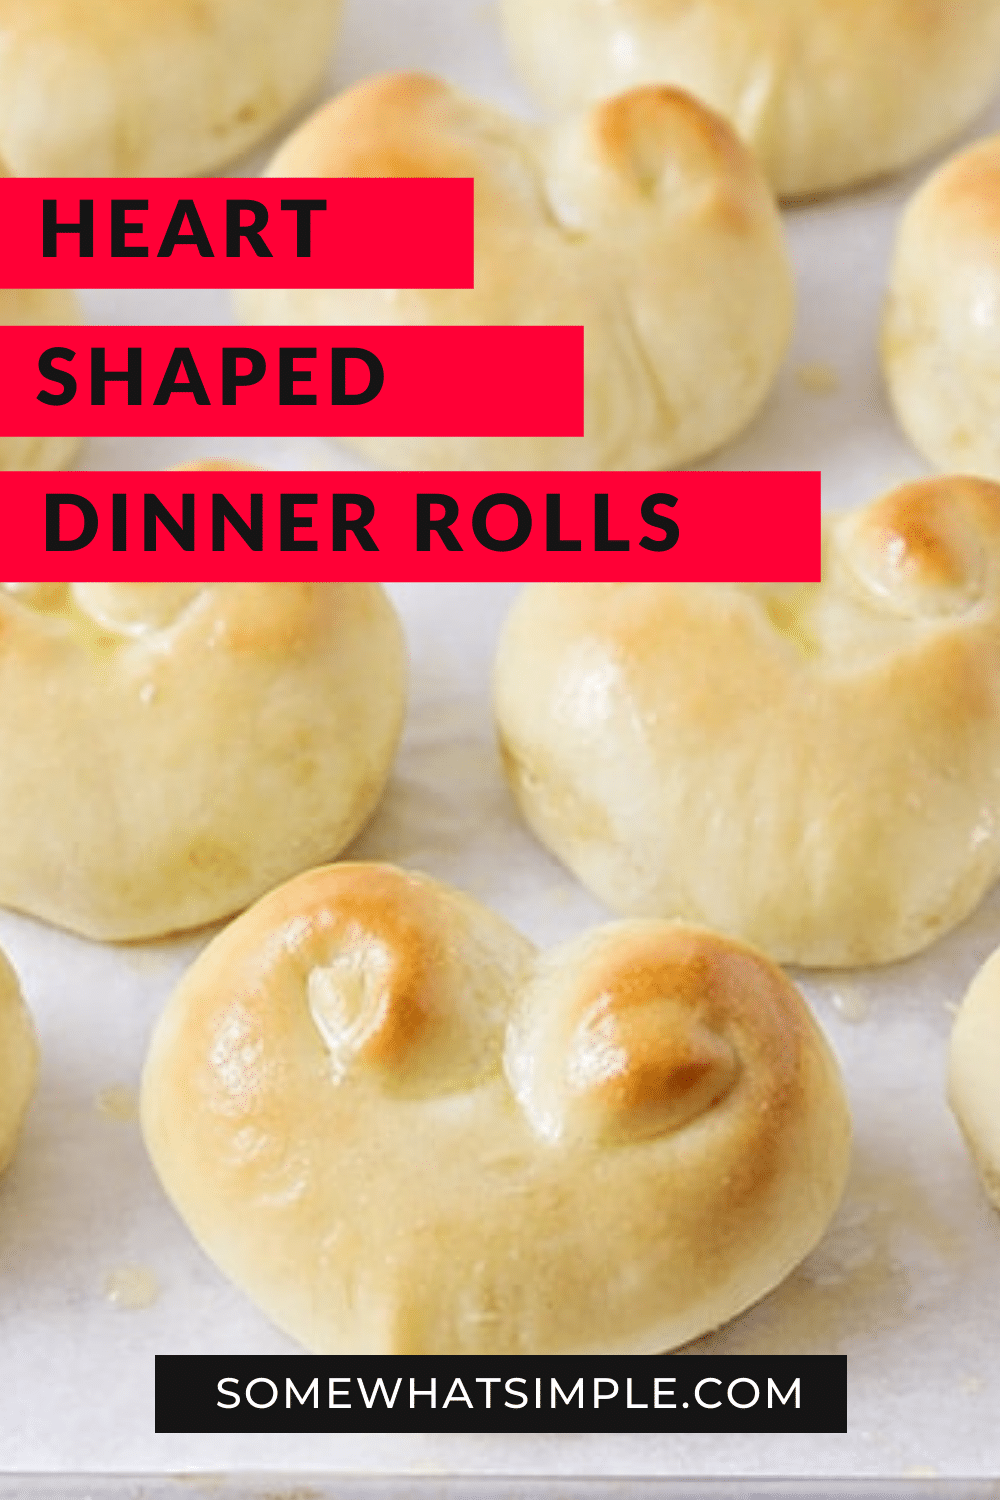
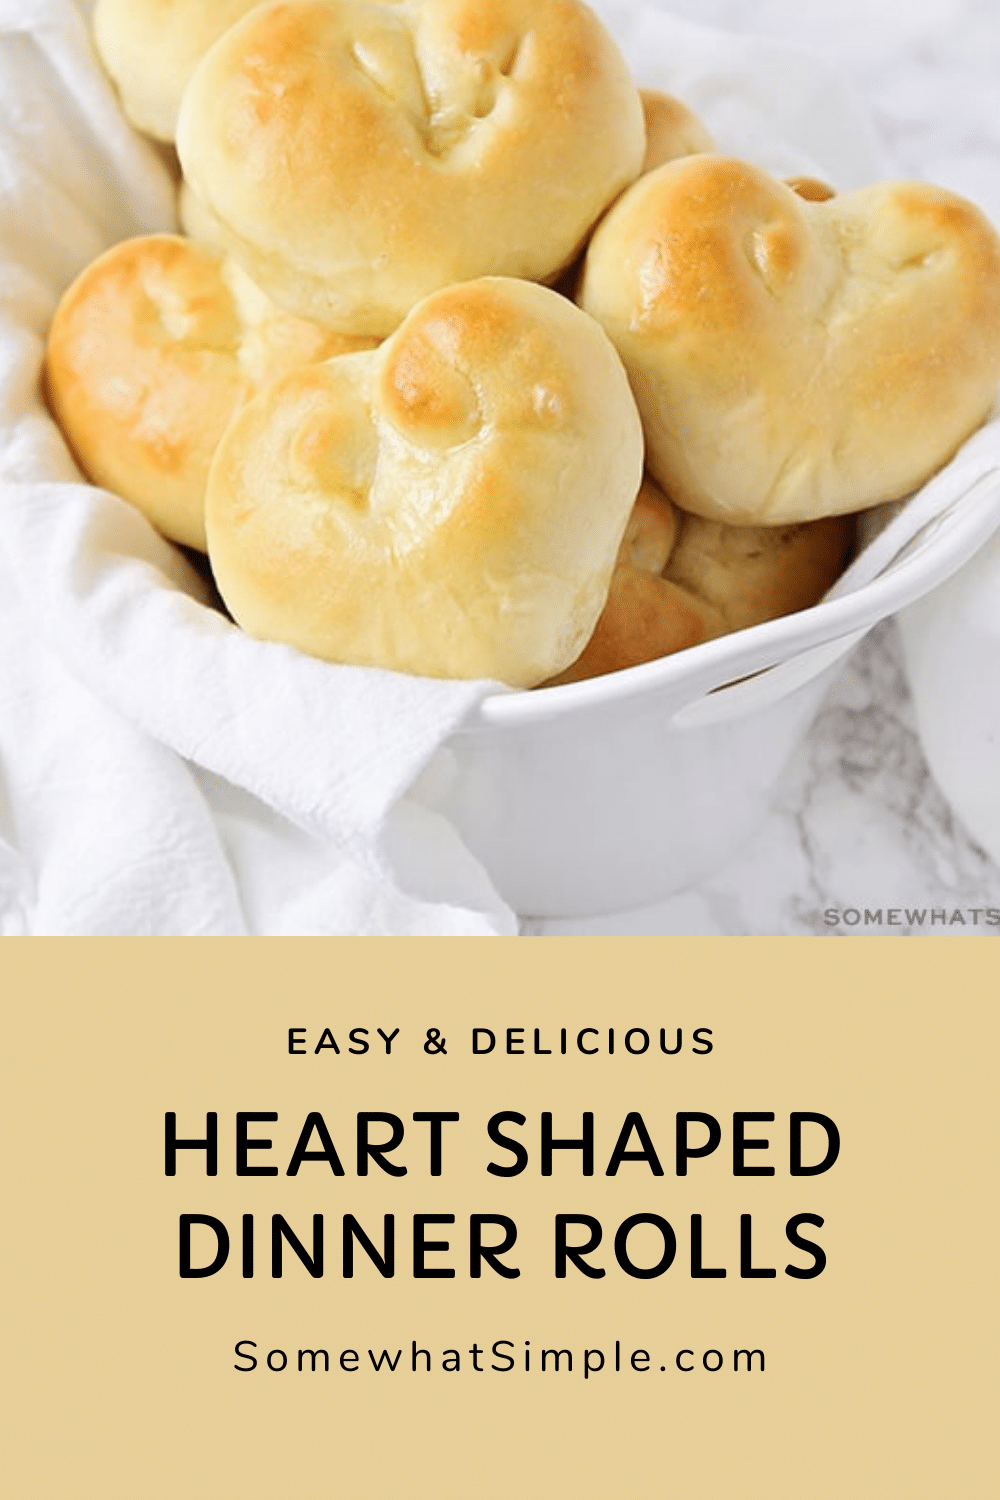
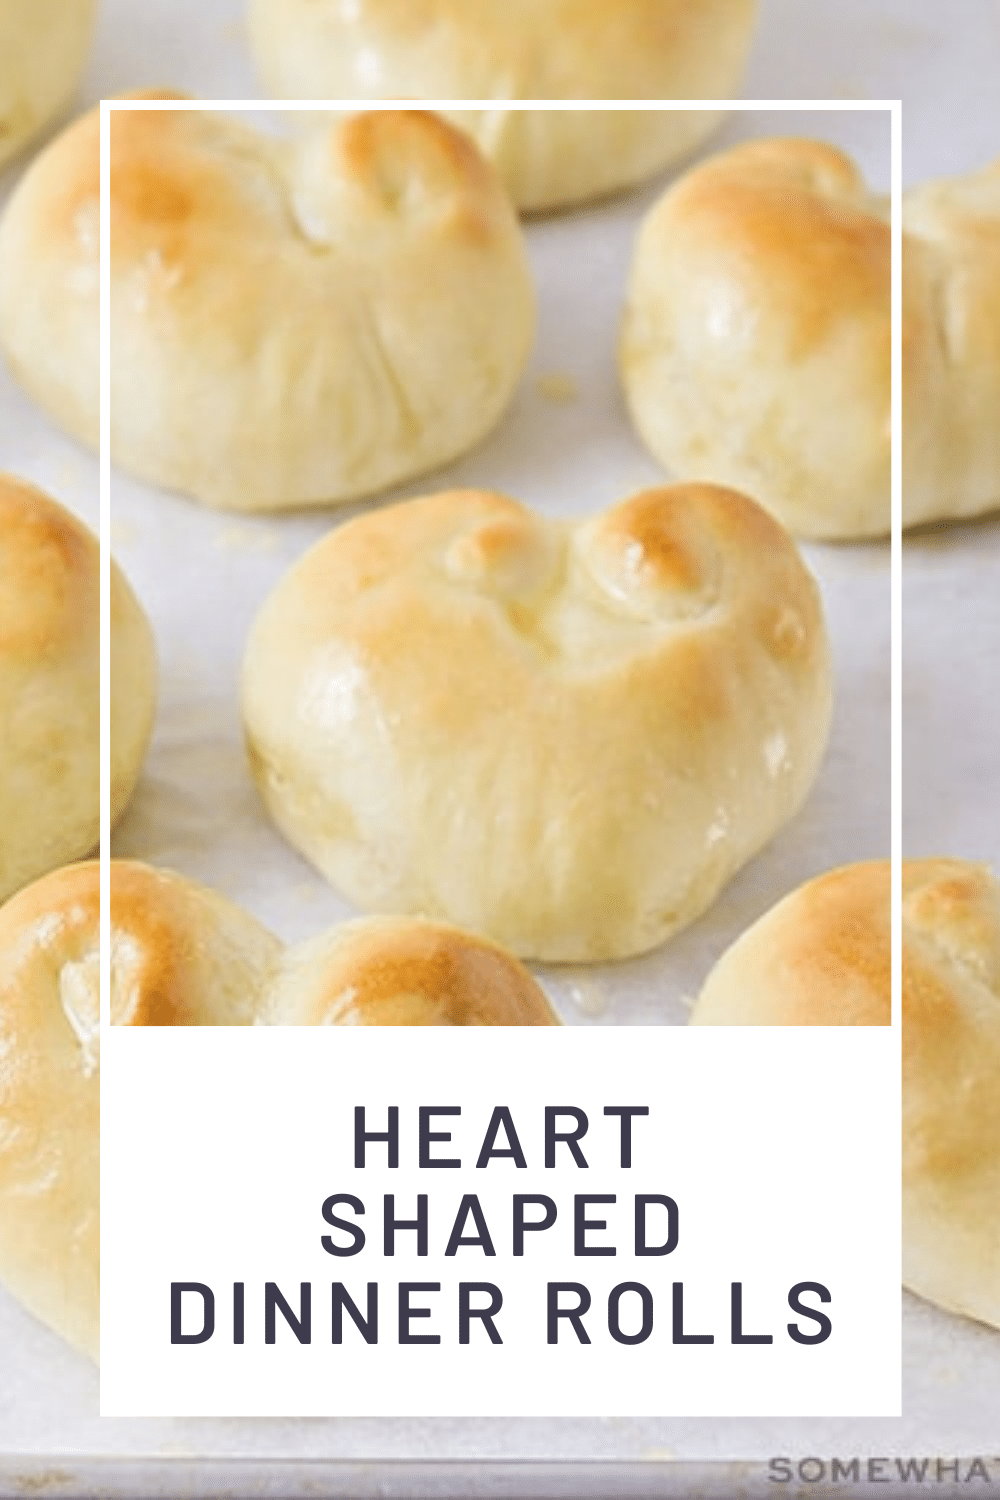
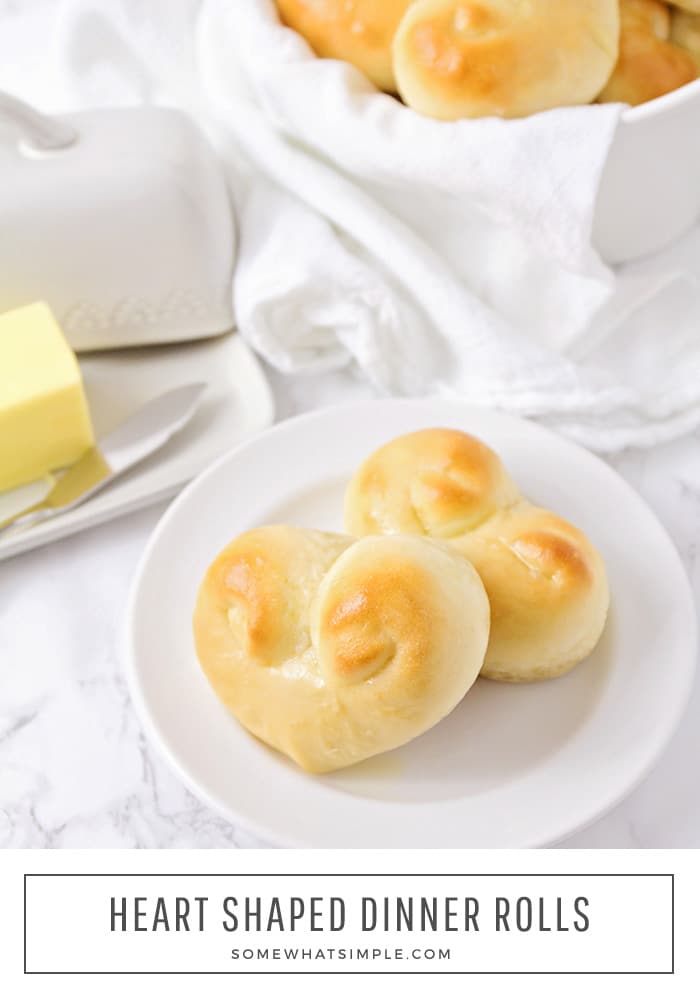
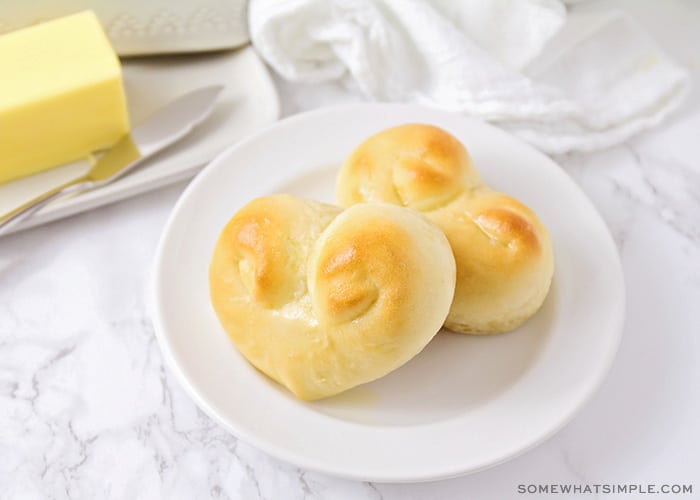
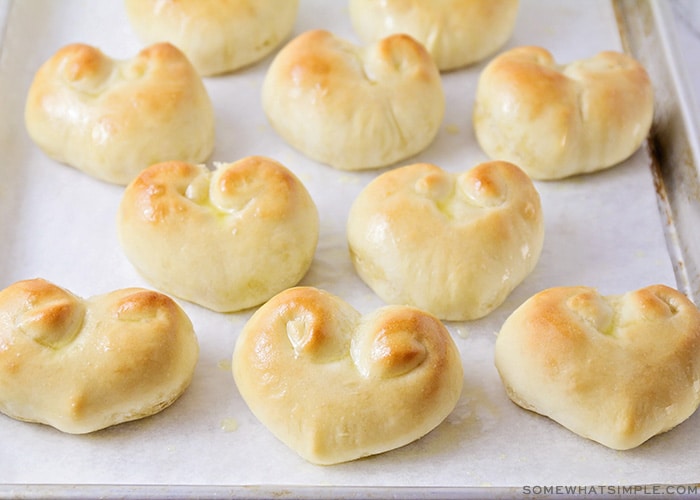
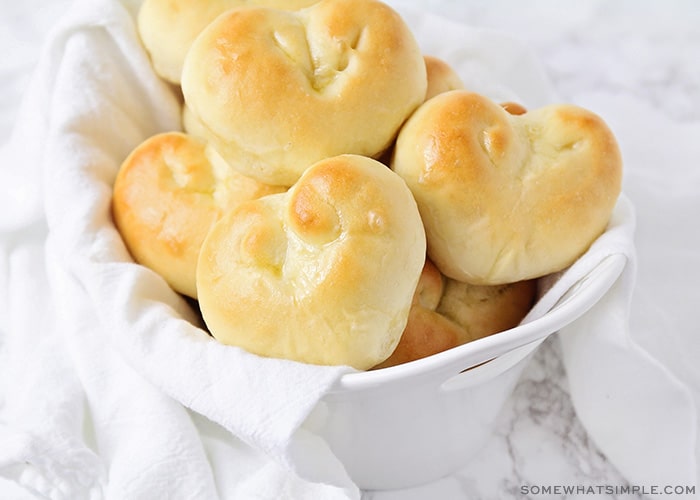
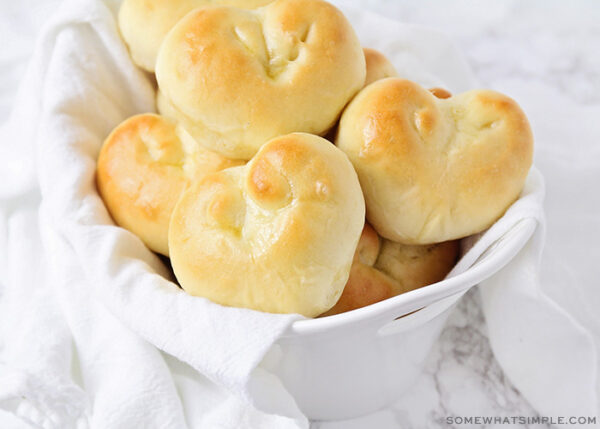
Heart shaped dinner rolls are a fun and easy way to transform an ordinary dinner roll into a heart-shaped masterpiece. Whether it’s Valentine’s Day, your anniversary or any other special occasion, this bread is perfect for that special dinner.
Looking for more heart-shaped deliciousness? Be sure to try our Mini Heart Cakes, Conversation Heart Cookies, Heart-Shaped Chocolate Strawberries, and our Heart Shaped Doughnuts.
Heart Shaped Bread
Every year for Valentine’s day we do a heart-themed meal for our family dinner. These Valentine’s dinner rolls have become my new go-to because they are so easy and my girls think they are just about the best things ever. Because what little girl doesn’t love heart shaped food?? Am I right?!
These rolls are perfect for other occasions as well. Do you have an anniversary coming up or are you looking for a simple way to tell someone you love them? In just a few easy steps, you can add a fun twist to your dinner or you can even give a batch of these away as a thoughtful gift.
How To Make Heart Shaped Dinner Rolls
Make The Dough – Prepare the dinner roll bread dough according to the written directions.
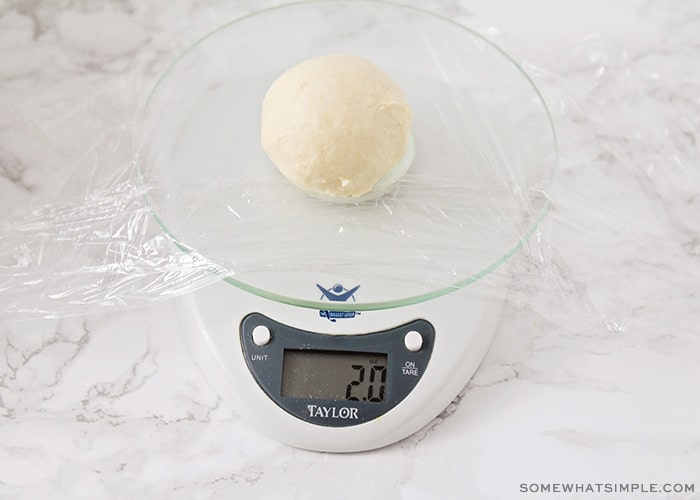
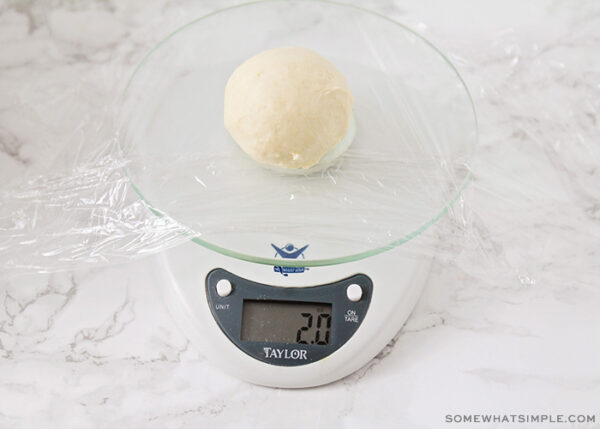
Portion It – Once your dough is ready, pull off about two ounces of dough and set aside. Two ounces is about as much dough as what would fit in an ice cream scoop. Continue pulling off 2 ounces of dough at a time until you’ve separated all of the dough into individual piles.
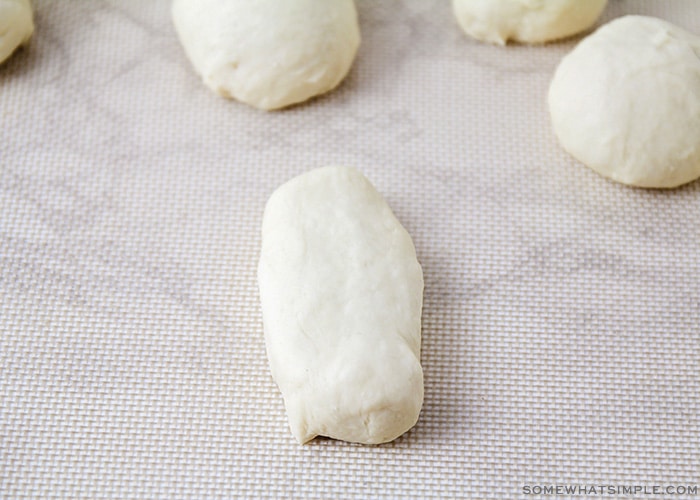
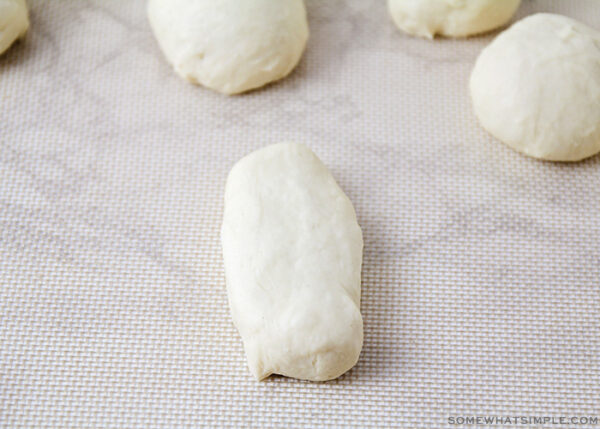
Roll It Out – On a floured surface, roll out each of the little balls of dough with the tips of your fingers into a rod-shape until they are 4 inches long. You may need to use both hands to roll out the dough.
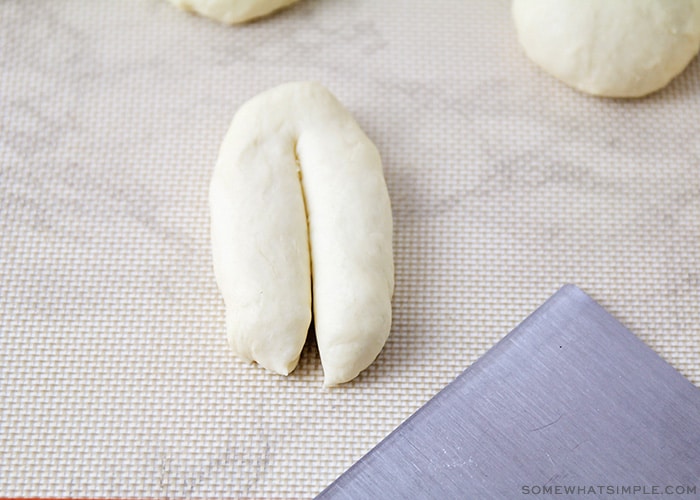
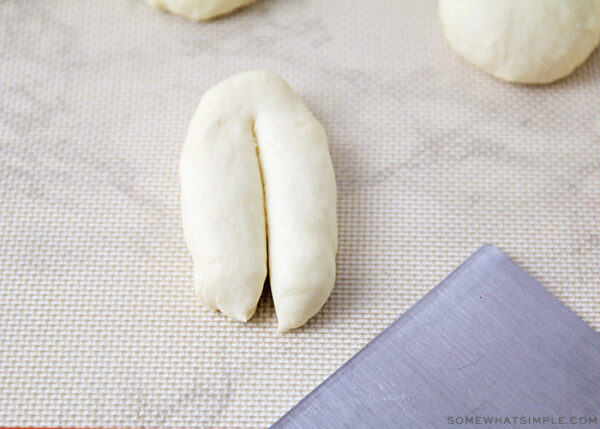
Cut It – With a sharp knife, cut down the center of the dough, leaving about 1/2 inch at the end still attached. This will create a V shape in the piece of dough.
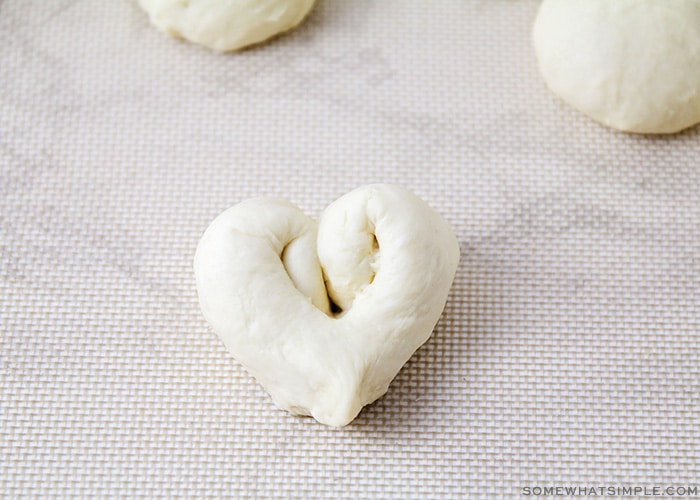
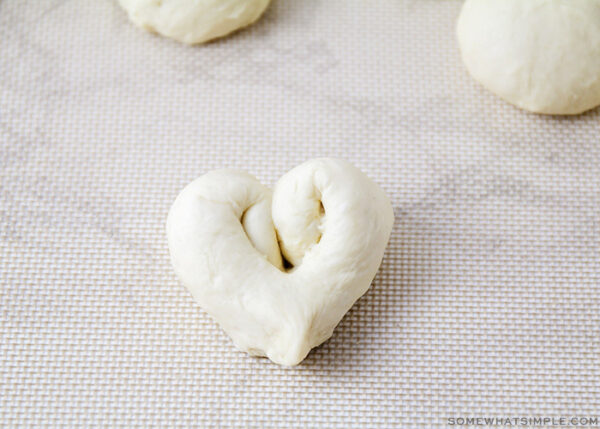
Make A “V” – Next, you will fold one end of the V down into the center of the roll.
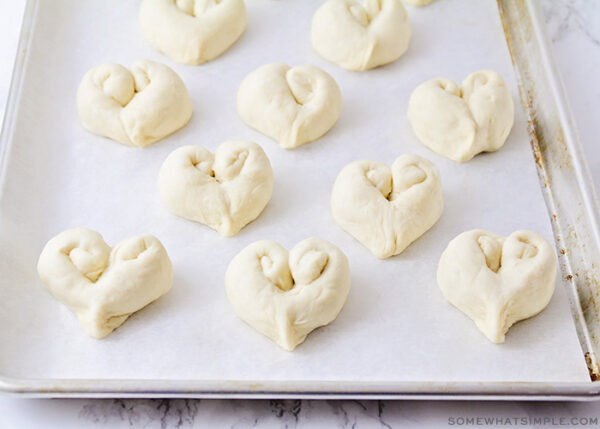
Form The Heart – Then you’ll do the same thing on the other end of the roll of dough in order to create a heart shape.
Finish The Heart – If you need to, lightly press the sides of the heart-shaped roll in to get the correct shape.
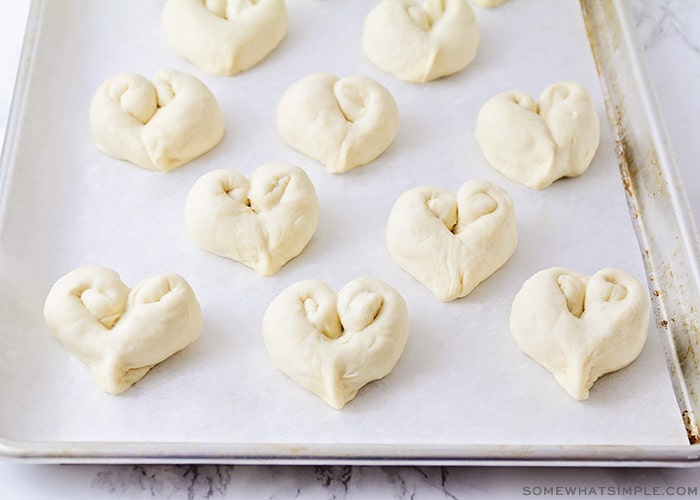
Prep For Baking – Place your rolls on a prepared baking sheet to allow them to proof. When proofing bread, I like to spray plastic wrap with a little olive oil and lightly place it (oil side down) over the rolls. This helps keeps the moisture in and is super easy to remove once the rolls are ready to go in the oven.
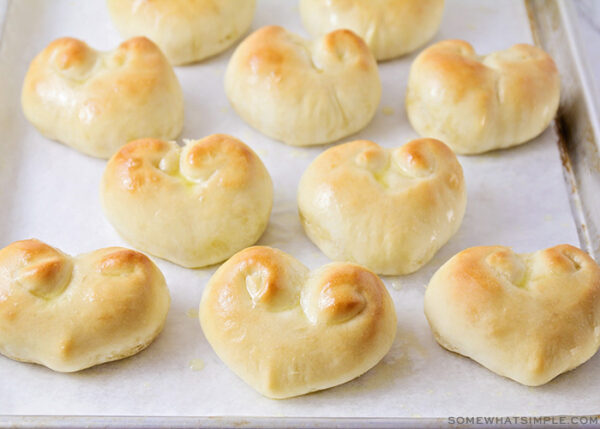
Bring Some Heat – Finally, bake your rolls until golden brown, and brush them with melted butter as desired.
Here is the printable recipe –
Heart Shaped Dinner Rolls
Ingredients
- 1 1/2 cups hot water
- 1 tablespoon active dry yeast
- 2 tablespoon sugar
- 2 tablespoons vegetable oil
- 1 teaspoon salt
- 3 1/2 - 4 cups flour
- butter, for brushing, if desired
Instructions
For the dough -
- In the bowl of a stand mixer, mix together the water, yeast, and sugar. Let stand for 5 minutes, or until frothy.
- Add the oil, salt, and 2 cups of flour. Mix until well combined.
- Add the remaining flour 1/2 cup at a time. You want your dough to be slightly sticky, but pull away from the sides of the bowl. Do not add too much flour!
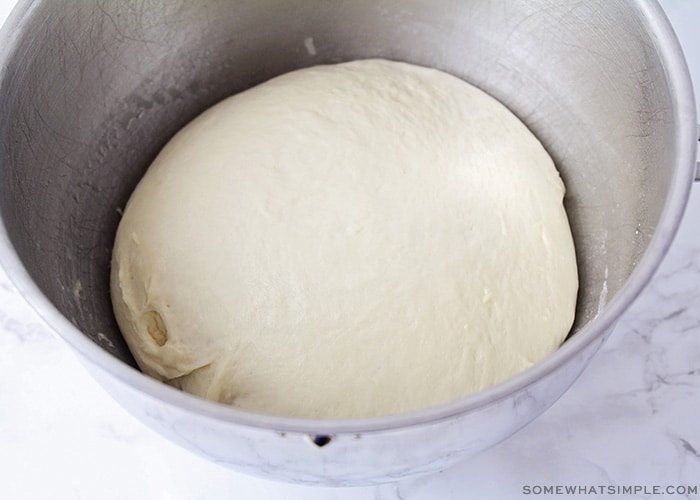
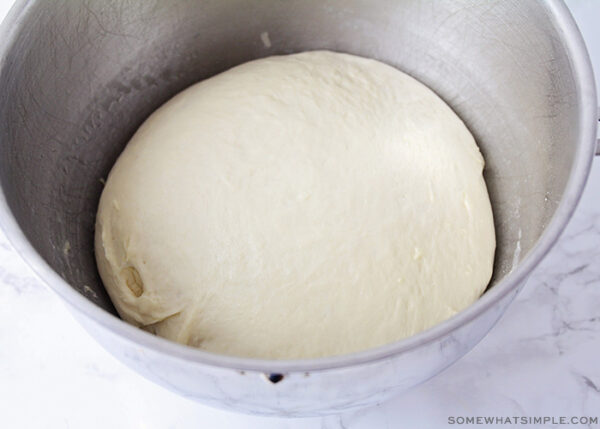
- Knead for 3-5 minutes, then cover and let rise until doubled in size, about 30-45 minutes.
- Gently punch down the dough, then place it on a lightly floured surface,
- Preheat the oven to 375 and spray a baking sheet with cooking spray.
To form the hearts -
- Pull off about two ounces of dough and set aside. Two ounces is about as much dough as what would fit in an ice cream scoop. Continue pulling off 2 ounces of dough at a time until you've separated all of the dough into individual piles.
- On your floured surface, roll out each of the little balls of dough with the tips of your fingers into a rod-shape until they are 4 inches long. You may need to use both hands to roll out the dough.
- With a sharp knife, cut down the center of the dough, leaving about 1/2 inch at the end still attached. This will create a V shape in the piece of dough.
- Fold one end of the V down into the center of the roll. Then you'll do the same thing on the other end of the roll of dough in order to create a heart shape. If you need to, lightly press the sides of the heart-shaped roll in to get the correct shape.
- Place your rolls on a prepared baking sheet to allow them to proof. When proofing bread, I like to spray plastic wrap with a little olive oil and lightly place it (oil side down) over the rolls. This helps keeps the moisture in and is super easy to remove once the rolls are ready to go in the oven.
- Finally, bake your rolls for 13-15 minutes or until golden brown.
- Brush them with melted butter, if desired, and serve warm.



I used your idea for making heart dinner. Rolls. I used my favorite tried an true recipe but they looked beautiful! Thanks for the inspiration
You bet, so glad they worked out!
Hi, these look great for Valentine’s Day! I’m curious. Do these need to proof? For how long? I’m a little confused about step 5.
You’ll let the dough sit for about 45 minutes before forming the hearts.
Forgot to give you 5 stars in my message. Thanks again!
LOL, thanks Ann!
I’m delivering these today with homemade strawberry freezer jam to all my Valentines friends. Thanks so much for a solid performer recipe!
That’s such a great idea!
How long should they proof on the sheet before going into the oven? Should they be doubled in size?
Yes, until they have about doubled in size.
These are too cute! Think they would work as hamburger buns?
You can probably use them for sliders but I think they’re too small for a full burger.
How long can I let the heart shaped rolls sit on the baking sheet before I actually bake them? I would cover them with the olive oil plastic wrap.
I usually bake them right after they’ve risen, so I am not sure how they taste and feel if you wait too long! If you try them, I’d love to hear how they turn out!
Such a fun side dish for Valentine’s Day! We brushed ours with garlic butter…so yummy!
Garlic butter is the best!
I love doing themed dinners for the holidays and these were perfect for Valentine’s Day dinner. The directions were super easy to follow, thanks!
You’re welcome!
These were so adorable! My kids loved helping me them!
I love that you got the kids involved…so fun!
MAKING THESE TONIGHT FOR VALENTINE’S DAY!
You’ll love them! Thanks for stopping by and let me know how they turn out.
I have made all kinds of valentine shaped foods. Valentines pizzas, cakes, sandwiches, french fries with valentine ketchup. But I have never thought of Valentine buns. I am Pinning this, great simple delicious idea. These buns are precious.
Love this idea! They look so yummy!! Thanks for sharing with SYC.
hugs,
Jann
Thanks so much for sharing your awesome Heart Shaped Dinner Rolls with us at Full Plate Thursday, I just pinned them! Hope you have a great week and come back to see us real soon!
Miz Helen
Adorable!! Look yummy too!
I don’t eat a lot of carbs anymore, but these are so cute it might be worth it!
SO cute!! Thanks for sharing! I need to shape some rolls like this for our Heart ICU!
So cute! Pinned.
What a great tutorial – saving for next year’s Valentine’s Day!
How long do you let them prove after you’ve shaped them?
I let them proof until they about double in size.