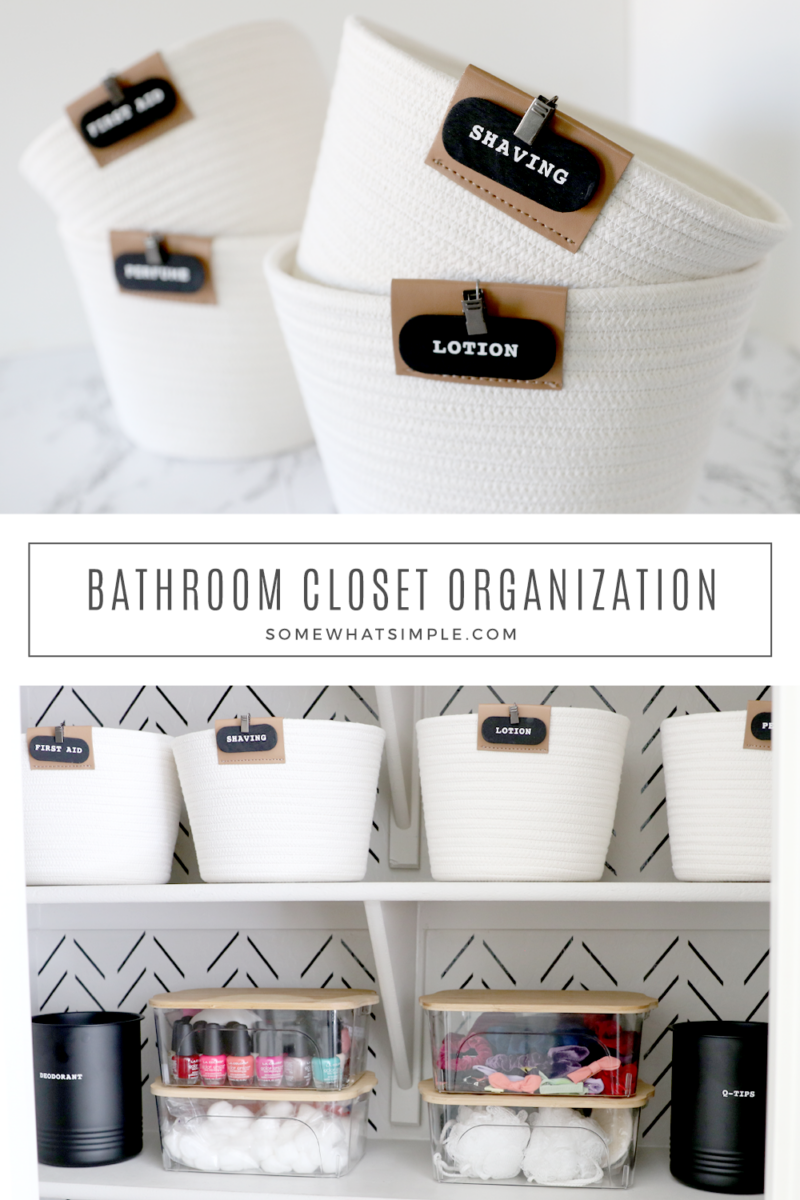
Toiletries, towels, medicines, and more! Our bathroom closet got a much-needed facelift, complete with a new organization system that looks amazing and functions to perfection!
This bathroom closet organization post is sponsored by Cricut. I’ll show you how to use the Cricut Joy and my favorite Smart Materials™ to take your unorganized space from CHAOS to CLUTTER-FREE!
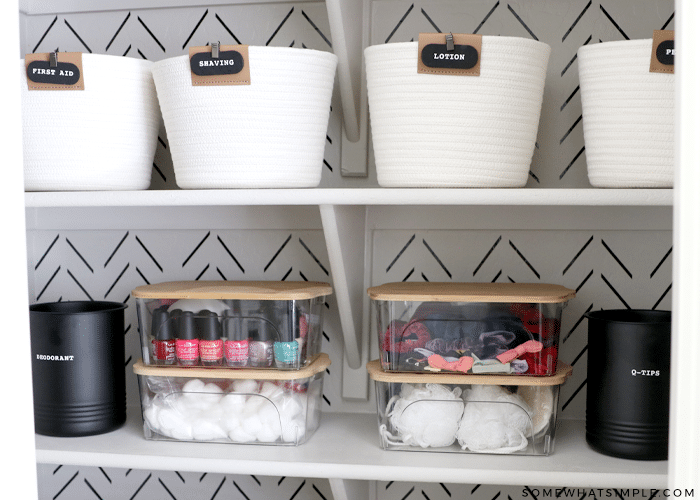
Truth be told, I haven’t organized our bathroom linen closet since we moved into this house over 5 years ago! The shelving was plain and drab. The mismatched bins and baskets held products that we used every day, but they were mixed with products that were old and expired. This closet also attracted unnecessary clutter because it just wasn’t very pretty. Take a look at the amazing before and after photos –
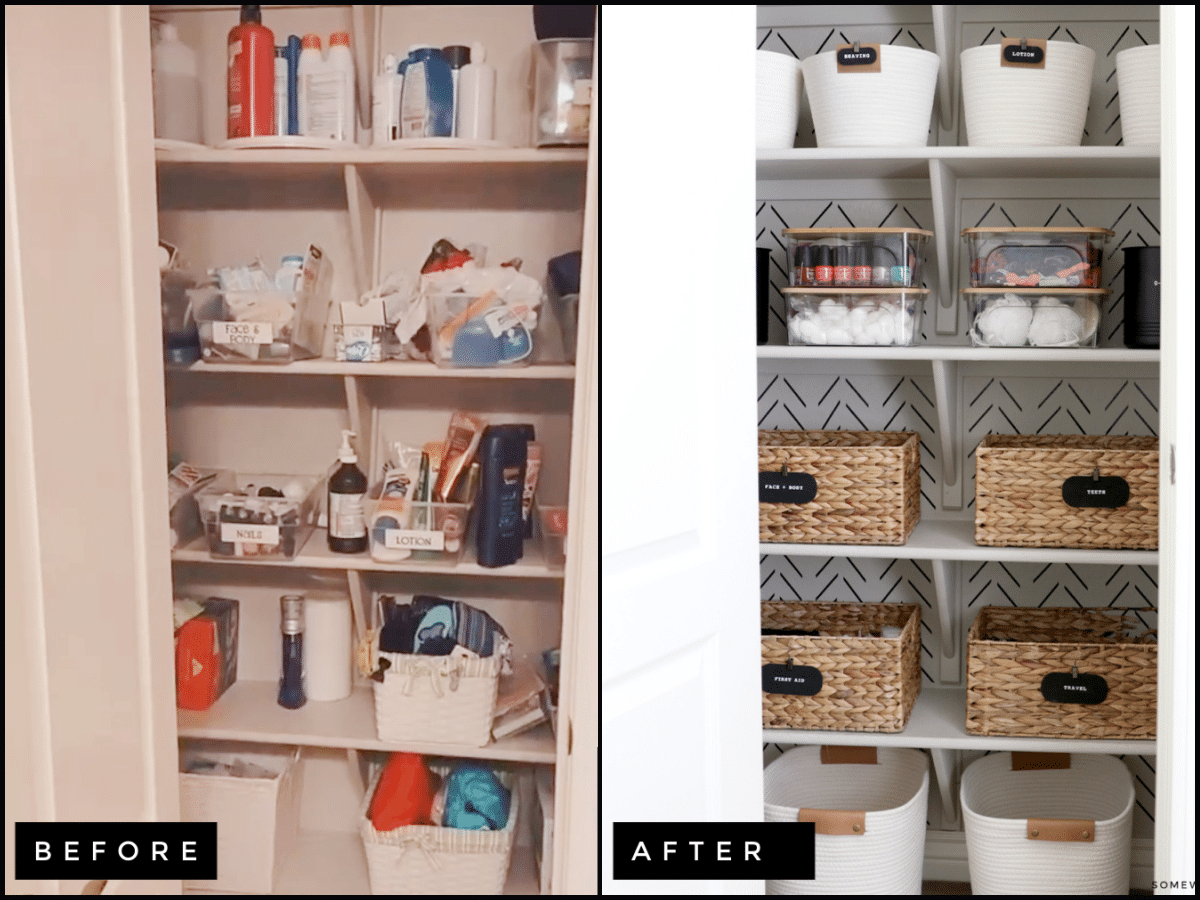
How to Organize a Bathroom Closet
This project took me just a couple of days to finish and it was actually a TON of fun! Here’s how it all played out –
1. Purge + wipe everything down.
I started by pulling everything out and giving the shelves a good wipe down. I tossed 3 HUGE trash bags full of expired products and items we don’t use! I couldn’t believe how much “stuff” I was hanging onto!
2. Add an accent wall.
I thought about doing wallpaper, but I didn’t want the installation hassle or the long-term commitment. Instead, I cut some vinyl with my Cricut Joy in a fun geometric pattern and I made it look like wallpaper! Here’s a video I filmed with my cell phone of how quick and easy this was to do –
3. Get new baskets + containers.
This might have been the hardest part! 🙂 I found some coiled rope baskets from Target, some clear canisters with bamboo lids from HomeGoods, and then I stole some baskets from my pantry. I like that they all coordinate, but they aren’t too matchy.
4. Label everything.
This was the fun part! I used my Cricut Joy and some wood tags to make simple labels that look so good! Here’s how I did it –
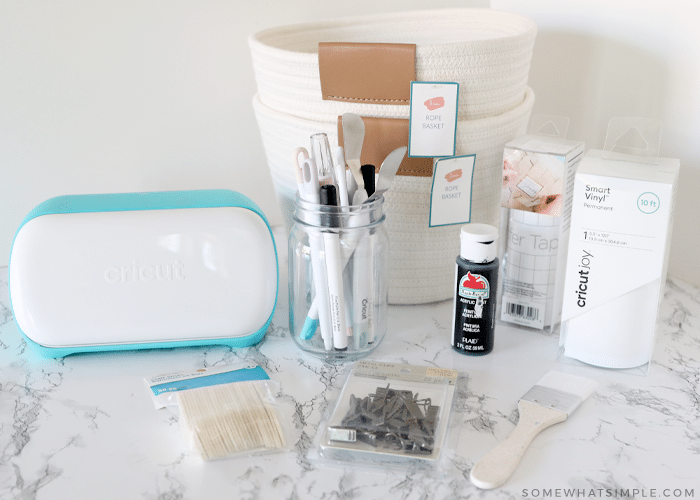
Bathroom Linen Closet Labels
YOU WILL NEED –
- Cricut Joy – I use this for all my labeling + organization projects! Cricut’s machines + materials are so easy to use!
- Cricut Design Space – I used the font Courier.
- smart vinyl– I used white vinyl.
- cutting mat– this is optional, but if you’re using small pieces of scrap vinyl for your labels, a mat works best!
- transfer tape
- toolset – I used the weeding tool, scrapper, and scissors
- wood plaques
- black paint + paintbrush
- metal clips
DIRECTIONS –
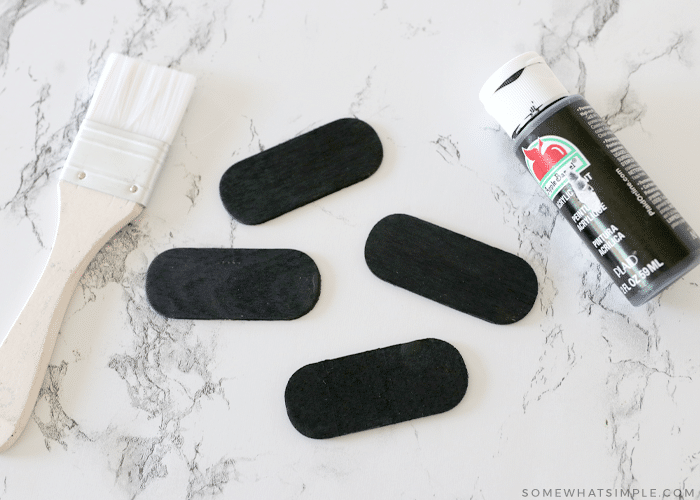
Paint your tags and let them dry.
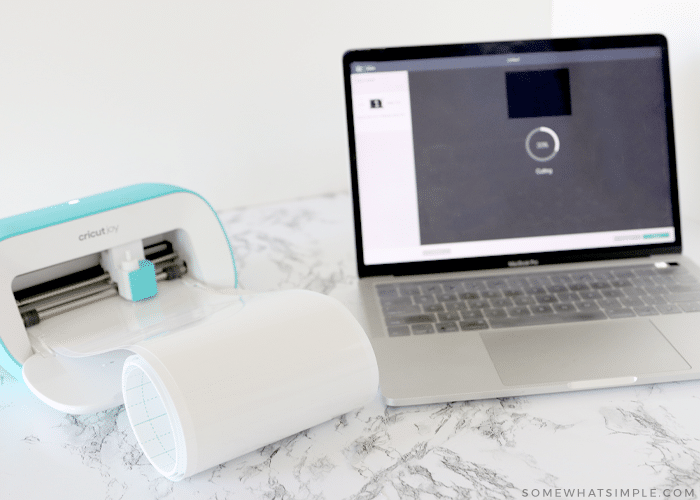
Meanwhile, design your desired labels in Design Space, load your machine with vinyl and start cutting your labels.
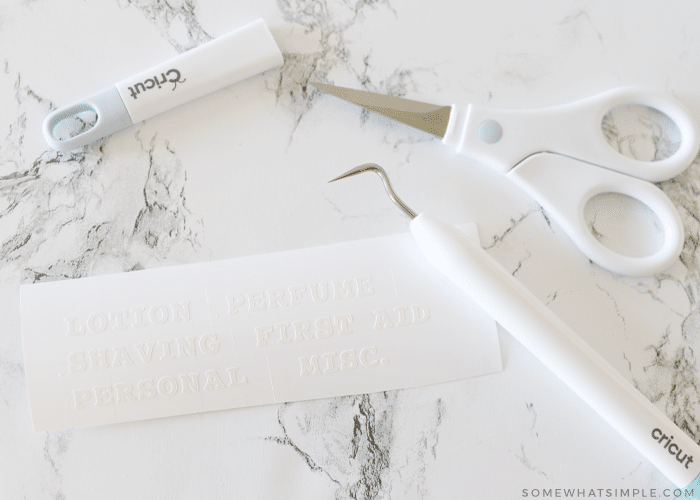
Weed each label and then cover them with transfer tape.
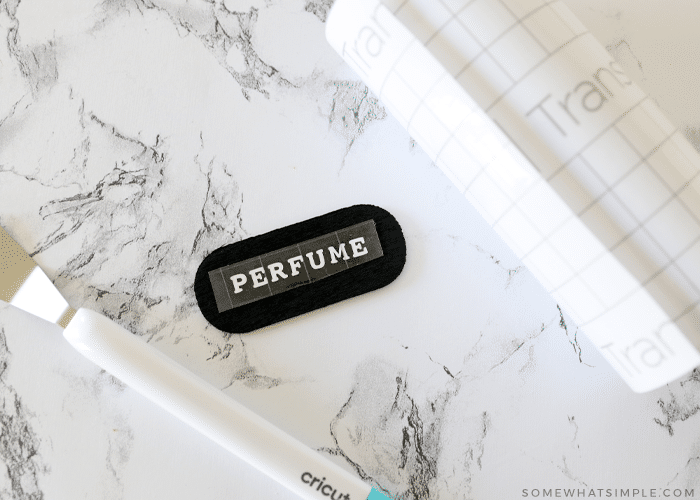
Center each label on the wood tag, then remove the transfer tape.
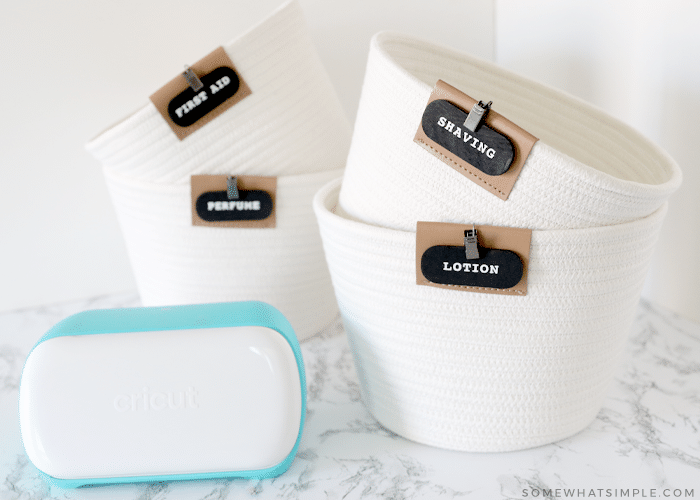
Attach each label to the baskets with the metal clips, and you’re done!!

Doesn’t it look so good? Here are a few more pictures of the finished bathroom closet –
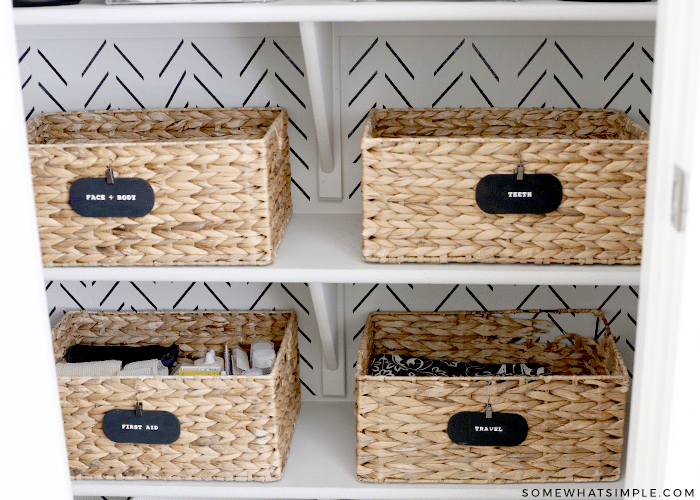
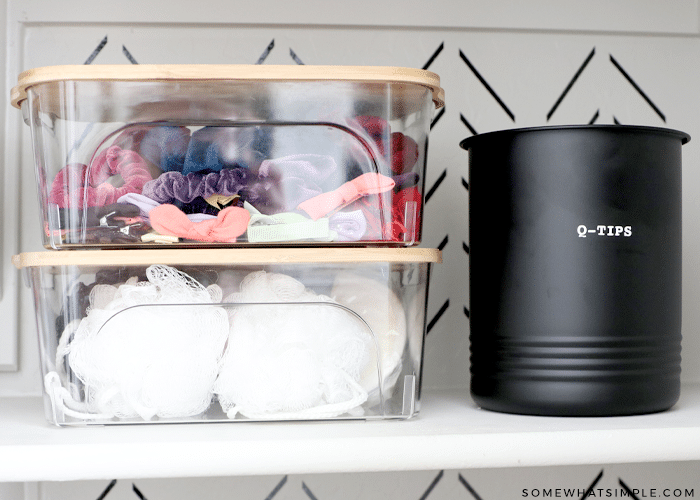
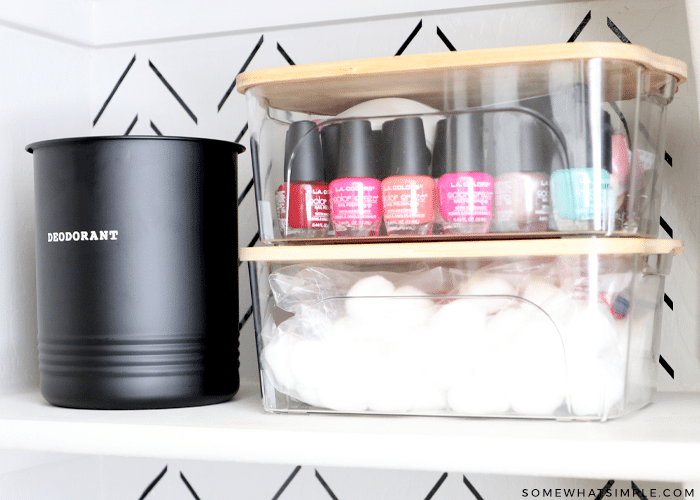
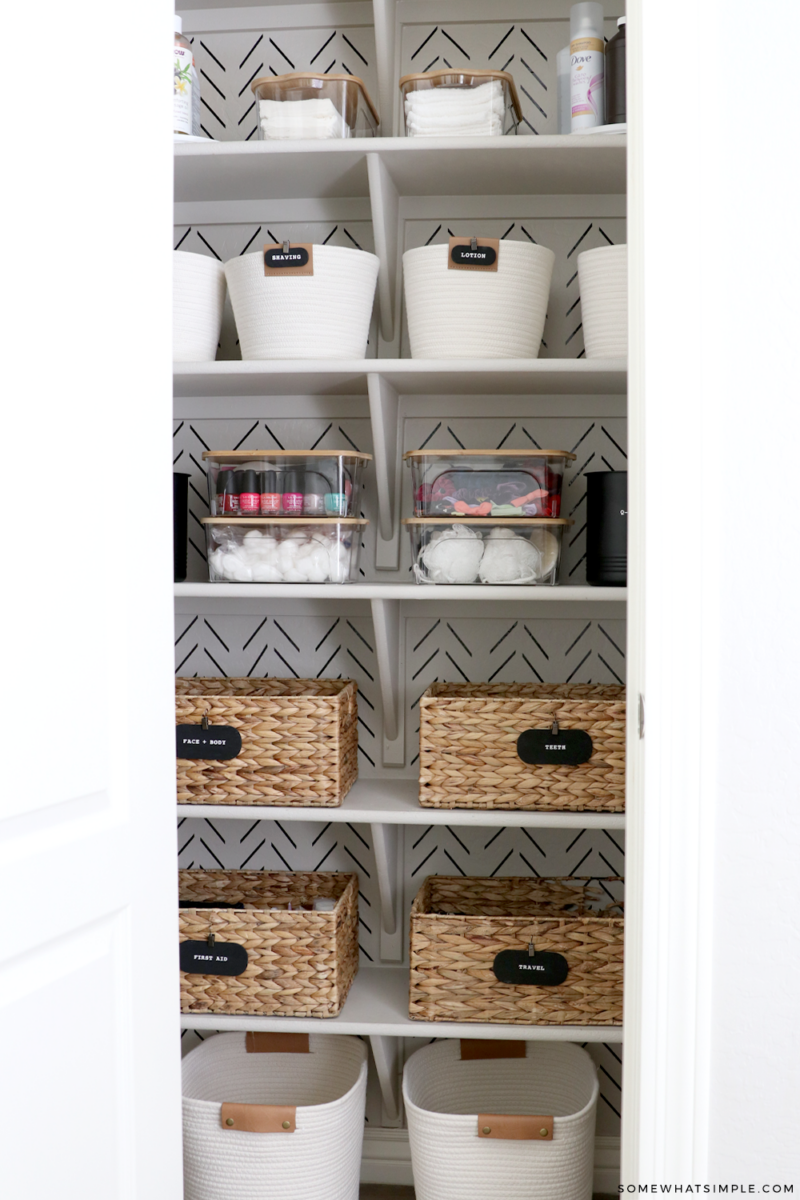
Ta-da!! I couldn’t be happier with how everything turned out!
Do you have any great Bathroom Closet Organization ideas? Leave me a comment in the section below. I’d love to hear your thoughts!
You can find the entire process of organizing this bathroom closet on my Instagram Story Highlights.
