Easily decorate your daughter’s bedroom, without spending a lot of money! Here’s how we updated Addie’s space with some simple, affordable girls bedroom decor.
Here are a few more girl’s bedroom ideas from spaces I’ve designed for my girls – Modern Farmhouse Teen Girl’s Room, Bright + Simple Tween Girl Bedroom, Modern Boho Teenage Girl’s Bedroom, and Addison’s Little Girl Bedroom.
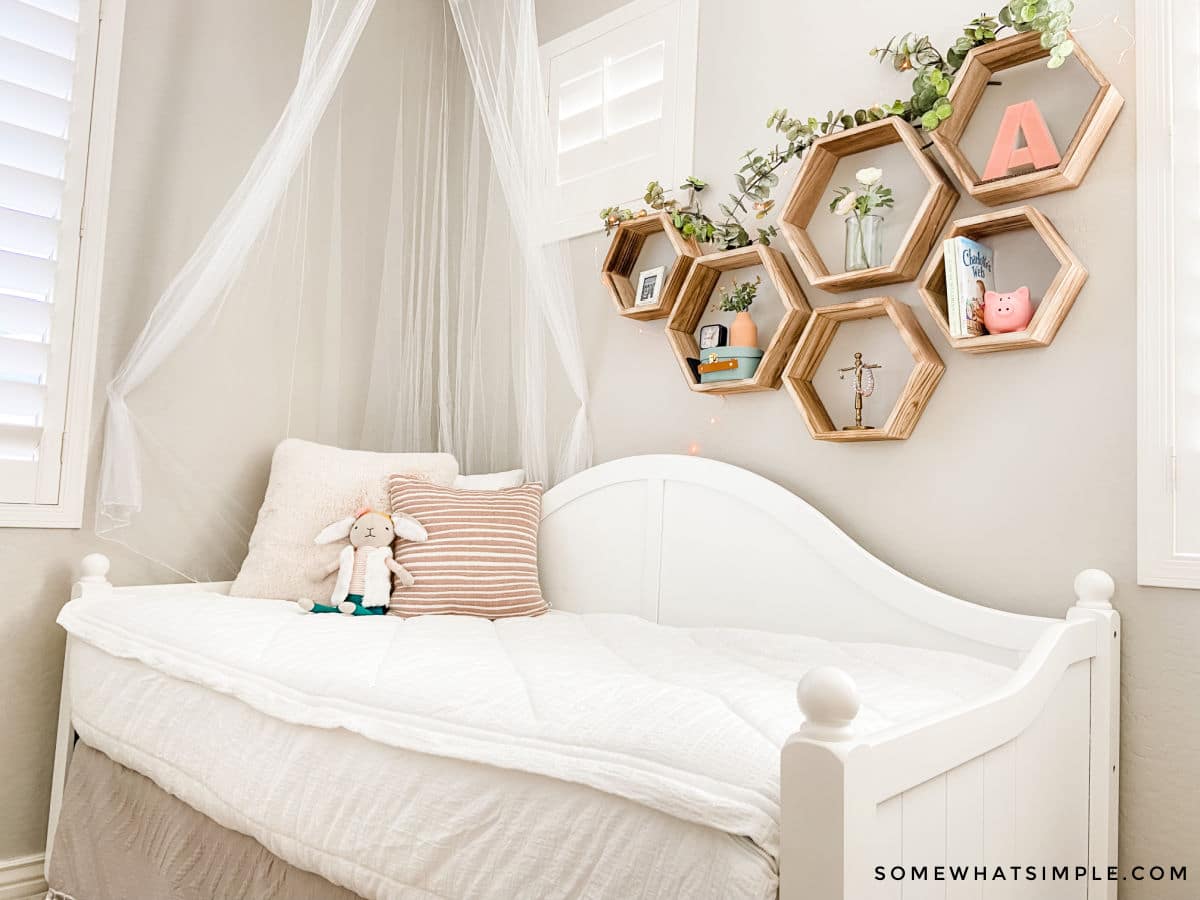
I love designing any kid’s rooms, but girl’s bedrooms just might be my favorite projects to tackle in the entire house! And while neither of my daughters are the pink/frilly princess type, designing a space that is fun and feminine is always delightful!
This month I finished Addison’s new room, and if you follow me on Instagram or Facebook, you probably saw all the DIY planning and preparation that went into this little girls’ room, as well as the inevitable décor hiccups that happened along the way! (Like the rug that arrived almost a month late!)
I got a ton of questions about this room, so I thought I’d put the grand tour with all the product links, helpful tips, and room decor ideas in one handy blog post. (I can’t wait to show you how everything turned out!)
*** All products are listed and linked at the end of this post.
What are the steps to designing a bedroom?
There are 5 steps to run through in every bedroom makeover:
1. Clean Up and Clear Out
When it comes to designing a girl’s room (or any kid’s space!), LESS IS MORE! Too much clutter can be overwhelming to a young child who is asked to clean their room. Do them (and yourself!) a favor and keep things SIMPLE.
How do I keep a girl’s bedroom tidy?
- Get rid of broken/ unloved toys. (More on this below!)
- Don’t fill their bed with more than a couple of pillows.
- Move unused furniture out of the kid’s room – get the room is as empty as possible.
- Hang their posters and pictures that don’t fit the design of the room inside their closet so they can see if, but it will be hidden behind the closet door.
- Add more storage space, if necessary.
- Don’t fill every surface/ corner with “stuff”. Desks and dressers look better and function best when mostly cleared off.
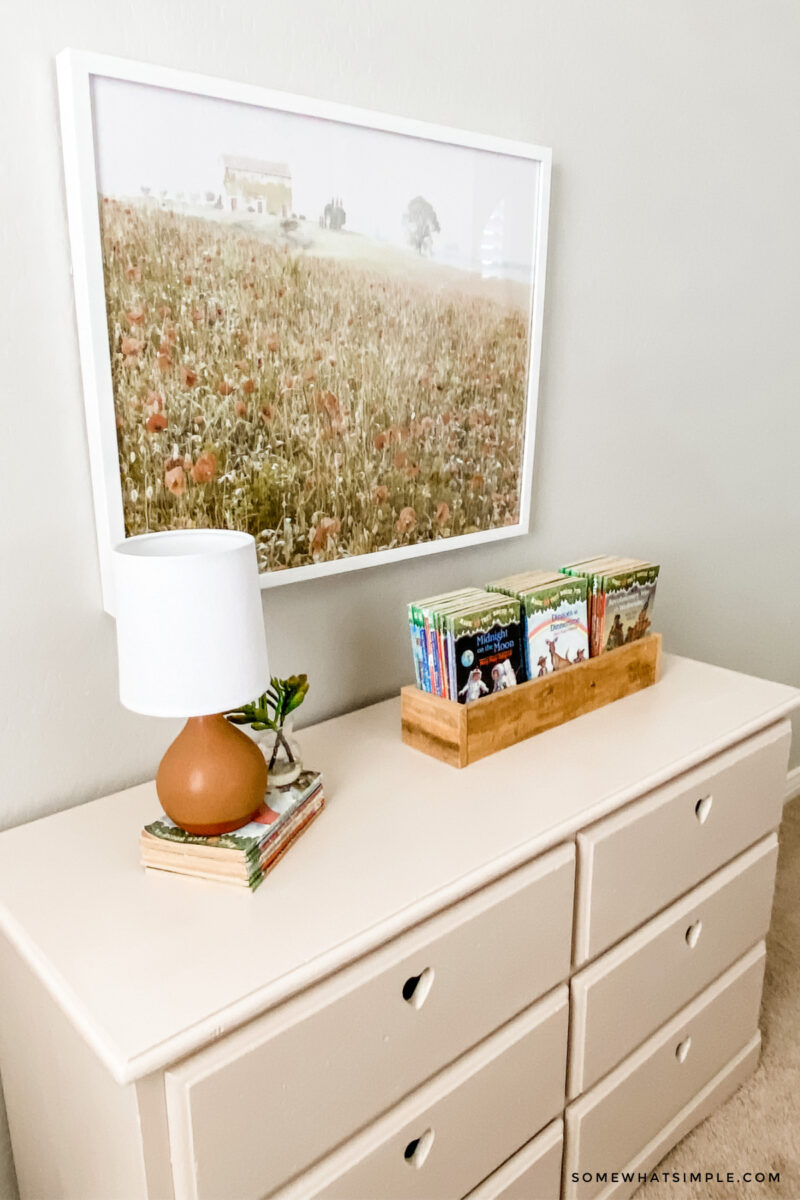
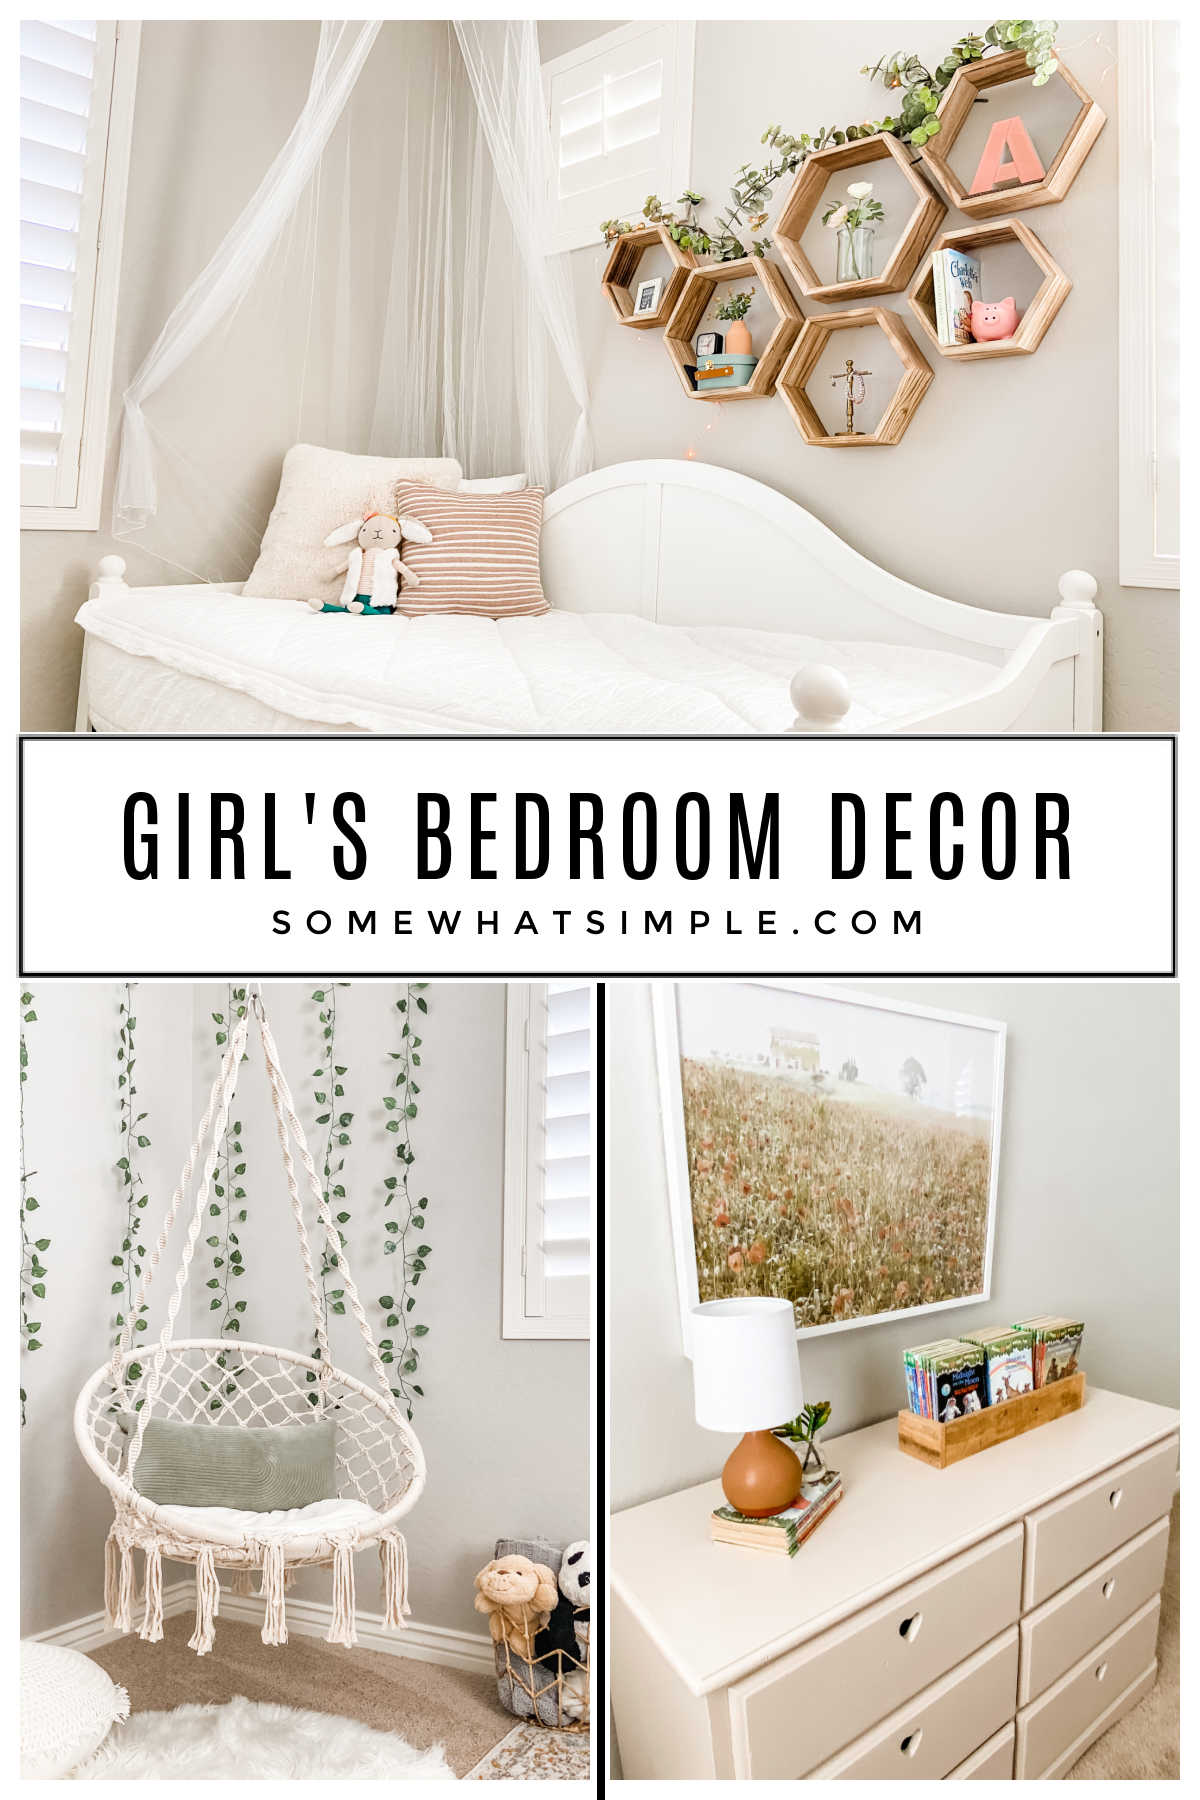
- Example – Addie’s dresser use to have several framed pictures and knick-knacks on top. This decor got strewn about, pushed around, and made the room look messy. When I refreshed her space, I simply put a small lamp and her favorite books in a neat little tray. It’s now easy to keep tidy and it looks good, too!
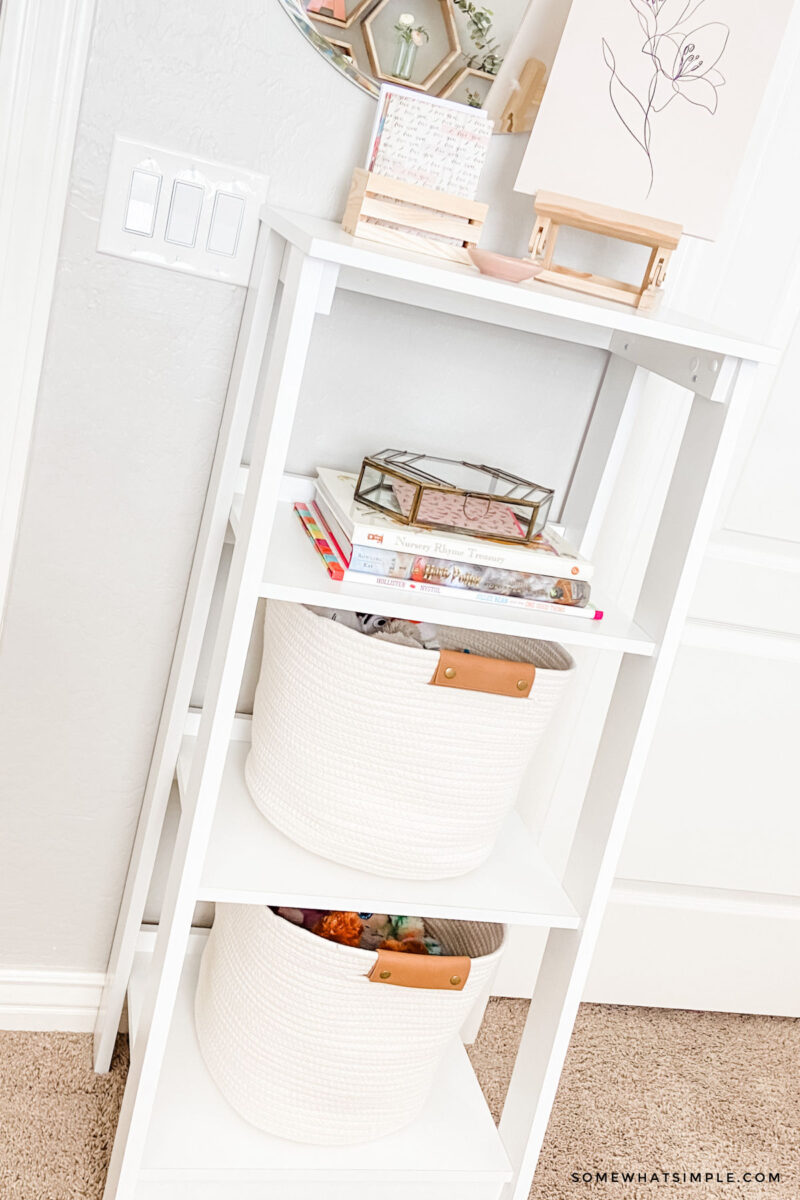
- Baskets and bins make it easy for a child to toss things inside when it’s time to clean up, and they help hide clutter or items that don’t match their space.
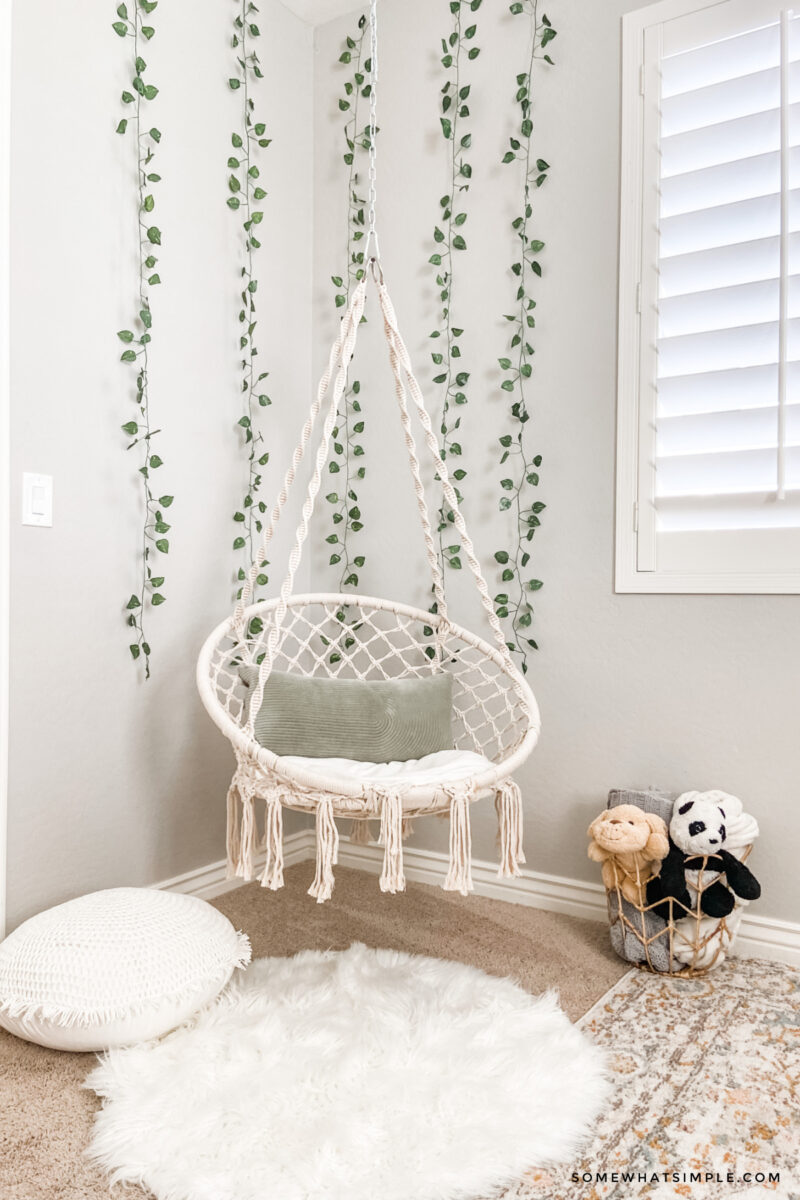
- Example – All of Addie’s colorful, bright stuffed animals were an eyesore on her shelf, not to mention a pain to put away when you have to line them up to make them fit. The rope baskets I added are a great storage solution! Now the stuffed animals and other toys are easy to clean up and the space looks tidy too!
Here are a couple of ways to help them purge and clean their toys and personal items:
- Mommy + Me Garage Sale – To encourage Addie to part ways with some of her things, I sometimes offer to buy anything she doesn’t want anymore. I buy old pencils and art supplies for a penny, knick-knacks for ten cents, stuffed animals for a quarter, and bigger items for more. Money is a great motivator to help kids clear their clutter, so a makeshift garage sale between the two of us is always a hit!
- Pull on Their Heartstrings – Another way I encourage Addie to keep only what she really loves is to tell her what good can come of donating her unwanted toys to a charitable thrift store. This particular room refresh was done just before Christmas, so I encouraged her to donate as much as she could since families will be starting their Christmas shopping soon, and her toys could be the only present a child gets. In an effort to help every family in need, she was super generous with her donations as she thought about those who are less fortunate.
With the right method and incentives, you can help your child purge and clean their space so it’s ready for a fun refresh!
2. Decide on a Color Scheme
The next step in a kid’s room design is to decide on the colors you will use. This will be determined by your own personal preference and the taste of your child, but you can get inspiration from any of the following –
- a piece of furniture you’d like to use in the space
- new bedding that catches your eye at the store
- a favorite wallpaper you found online
- a new area rug
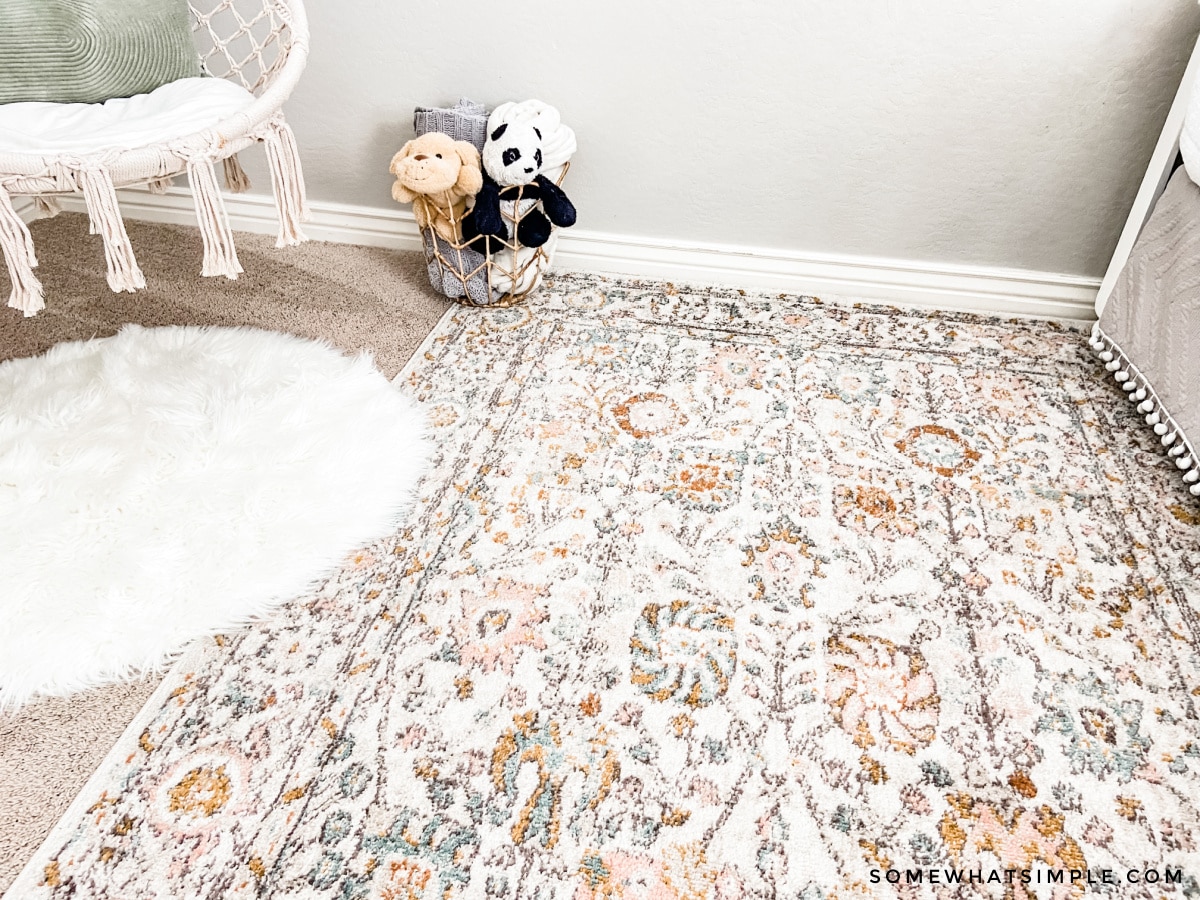
For Addie’s room, I wanted to keep the colors mostly muted and soft with just a few beige-pink accents. I knew I didn’t want a traditional pastel color pallet, so I was thrilled to find THIS RUG that I laid right on top of our carpet that provided the perfect jumping-off point for the space.
3. Pick Your Furniture
I kept Addie’s furniture that she’s had for years, but her dresser with the heart cut-out drawers got a fresh coat of paint from Coral Pink to Beige Pink, and I love how it looks with the rug.
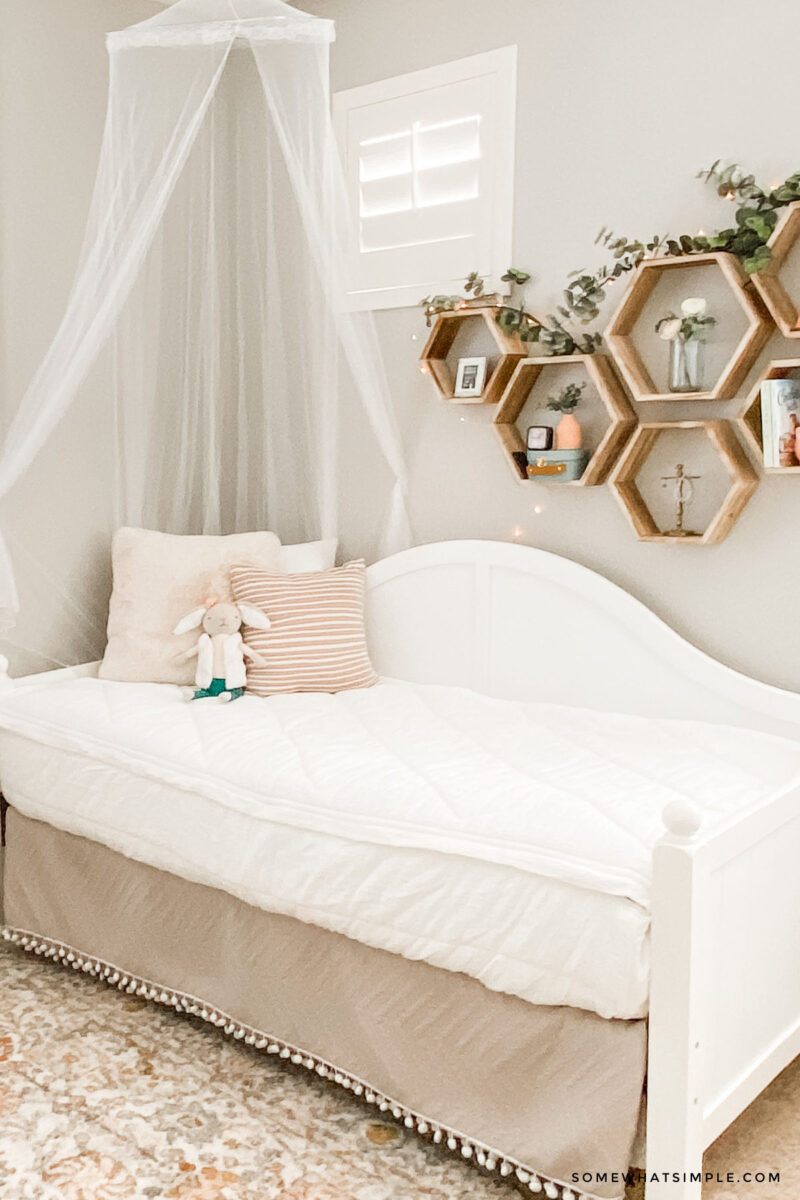
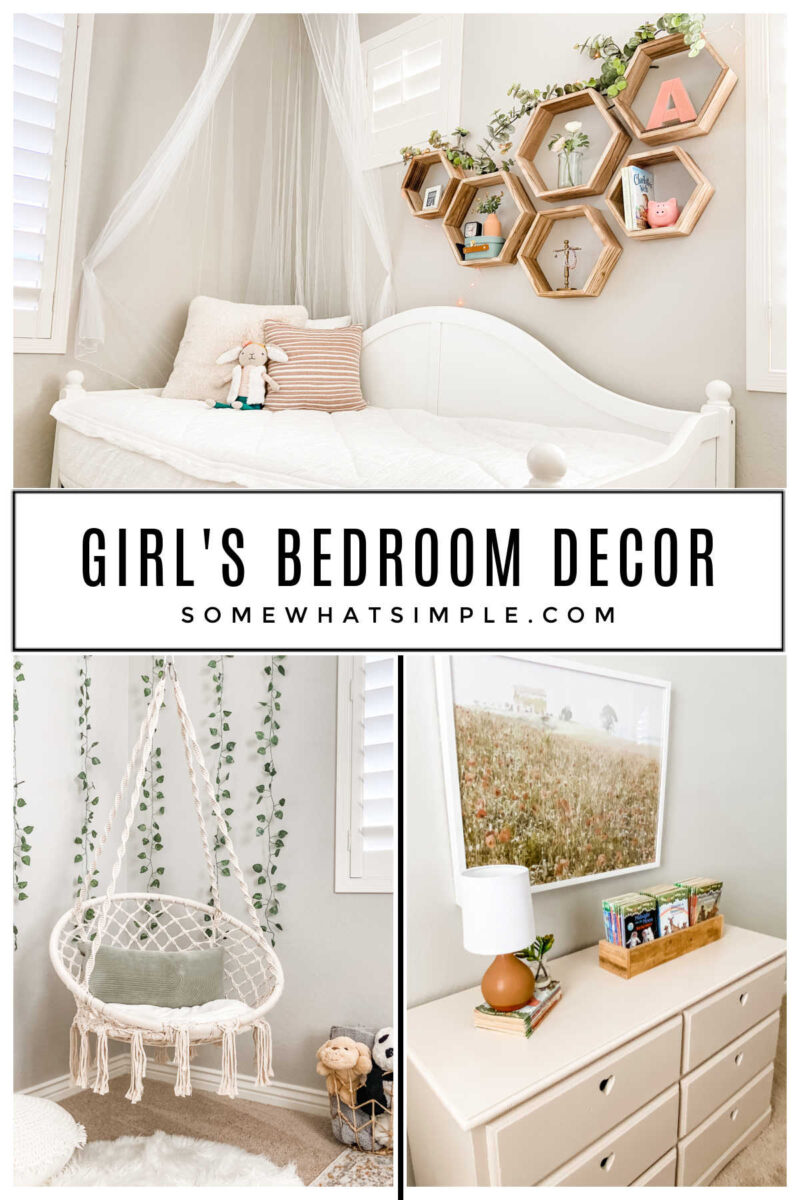
I would have loved to purchase a canopy bed, but that was out of my budget, so instead, I hung a mosquito net above one corner of the bed and it gave the space the soft feel I was going for. (All for less than $10!)
I also love the idea of having a trundle bed in this space, just in case we need it for company or for a cousin’s sleepover.
The only other piece of furniture we bought was a hanging hammock swing that fits her space so perfectly. Addie was SO excited when she saw this fun addition! (I was excited that this swing only cost me $50! Such a deal!)
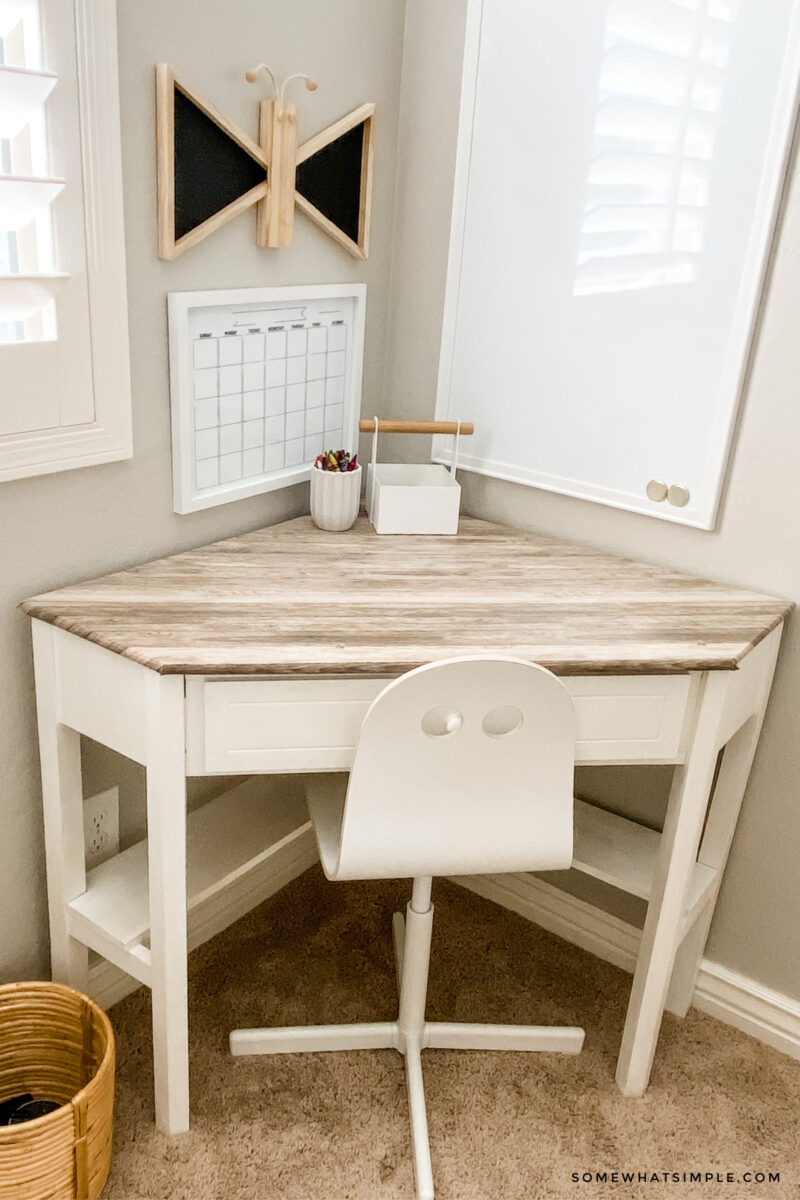
Her desk is one I’ve had in our home office. I covered the top in wood-looking contact paper, and I love how it warms up the space.
4. Make Your Bed
Choosing your kid’s bedding might be the most important part of the entire space! Not only does it need to be cute, but it also has to be functional and comfortable, too!
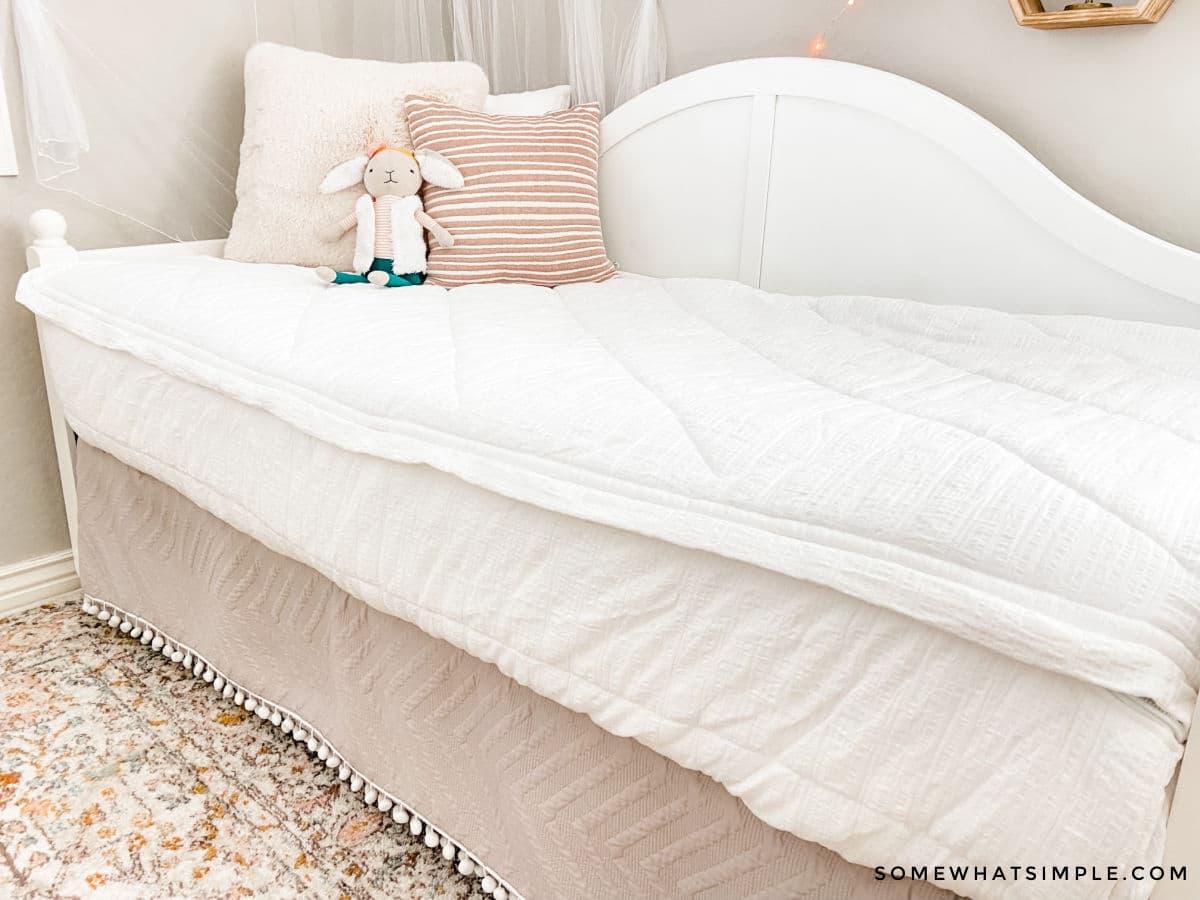
The bedding I have in Addie’s room is called Love at First White, by Beddy’s. It’s the only thing in this space I splurged on, but we’ve been using this brand of bedding for 6 years now, and I think it’s so worth it!
I went into details about why I love this bedding so much on Instagram, (look for the “Beddy’s” bubble in my profile) but here are a few highlights –
- Each Beddy’s set is all one piece! Every set comes with your sheet, blanket, and your comforter that goes on your bed like a fitted sheet! I love that there aren’t blankets tossed on the floor or top sheets kicked off and hiding below the comforter. And If you think about the cost of a new comforter + the sheets you need, the price doesn’t seem as steep.
- Beddy’s come in sizes from toddler to king, so you can use a set on every bed in your house.
- They are perfect for beds that are hard to make. If you have a bunk bed, trundle bed, day bed, or a bed that is pushed up against the wall – these bedding sets are a game-changer!
- Addie got her first Beddy’s when she moved out of her crib and has been making her bed all by herself since she was 2 years old! I love the boost in confidence my little kids get when they are able to make their beds without any help!
Use code STEPHANIED for 15% off your entire Beddy’s order!
5. Add Your Accessories
Remember, keep it simple, and don’t go overboard!
- Wall Treatments – Add wallpaper, a gallery wall, or a fun featured wall. The hexagon shelves I added in Addie’s room add some color and dimension, and they fill in the space between 2 weird-sized windows.
- Windows – I opted out of adding curtains to Addie’s room only because her windows are positioned weird and I didn’t want to dry attention to them. I also felt like I had enough coming off the ceiling to draw your eyes up (her swing and mosquito net) so curtains weren’t absolutely necessary for this space. But a good way to make the room seem taller and look finished is with a curtain rod at least a foot above the window trim.
- Lighting – A cool chandelier or a fun lamp shade is a great option if you don’t need a ceiling fan as we do in Arizona. I added some fairy lights around the hexagon shelves and it miiiiiight be Addie’s favorite part of the entire room!
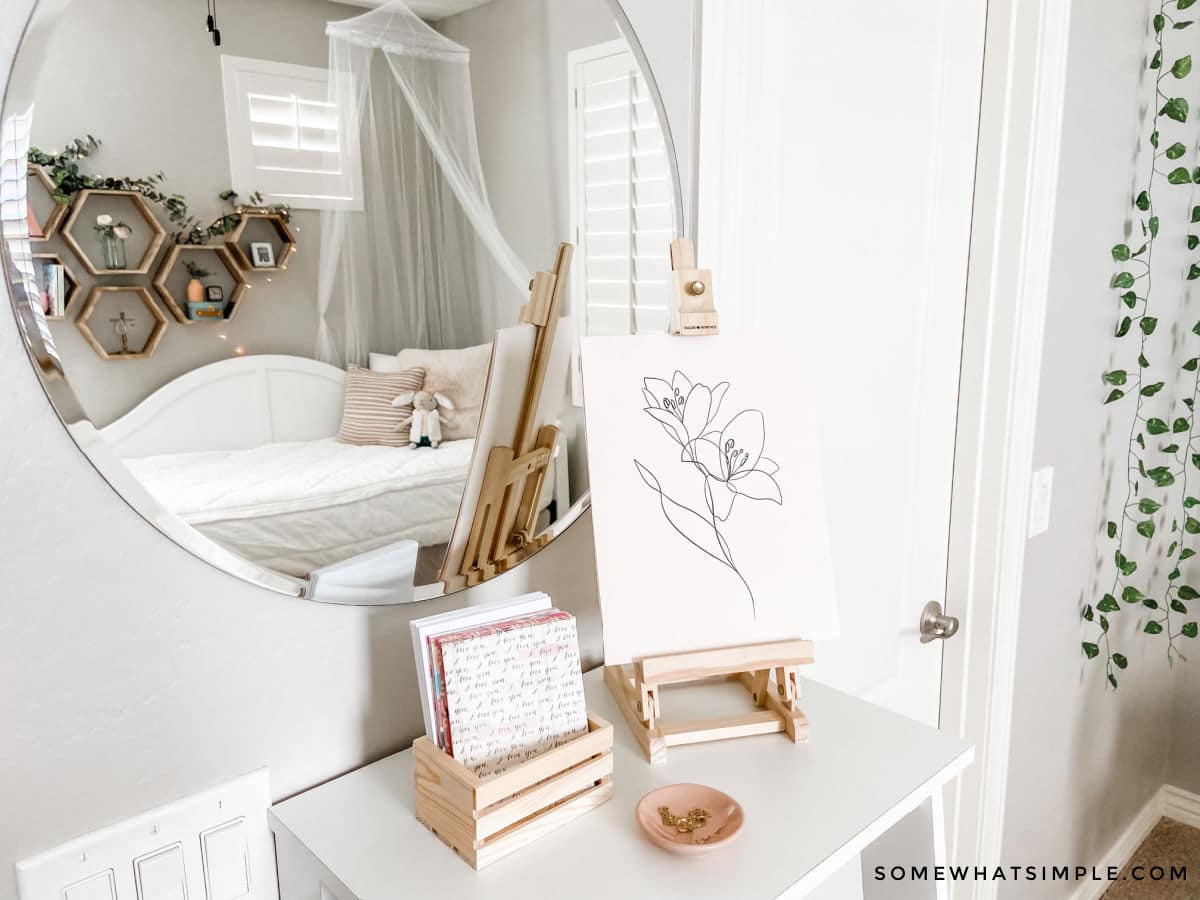
- Wall Decorations + Wall Art – I kept it simple with a framed piece above her dresser and a round mirror over her shelf.
Now that you know the 5 steps to organizing and designing a bedroom, what project are you going to tackle first?
PRODUCT LINKS –
- rug
- white daybed (similar)
- white bedding
- mosquito net
- hexagon shelves
- LED fairy lights
- white ladder shelf (similar)
- rope baskets
- round mirror (similar)
- rope hammock swing
- faux vines
- round faux fur rug (similar)
- basket for blankets + stuffed animals
- corner desk
- wood contact paper (similar)
- white office chair


Hi
what’s the color of the wall?
It’s the best gray EVER – Miner’s Dust by Dunn Edwards. If you search “Gray Paint” on this site, I wrote a whole post about it, including the formula if you don’t have a Dunn Edwards store near you.